

Every chapter in Sniper Elite Resistance has its set of Collectibles that you find scattered across the map. So is also the case for the second chapter, which has a total of 20 Collectibles that range from Propaganda Posters to Personal Letters and Documents.
This article will tell you where you can find all the Collectibles in the second chapter of Sniper Elite Resistance and a little bit about all of them.
How To Get All Collectibles In Sniper Elite Resistance Chapter 2
The 20 Collectibles in Chapter Two of Sniper Elite Resistance are located in different parts of the map. While some of them are very easy to find, some require you to look around a little more and can be hidden away in some corners. Below is a list of all the Collectibles you can find in this Chapter.
1. La Resistance Propaganda Poster
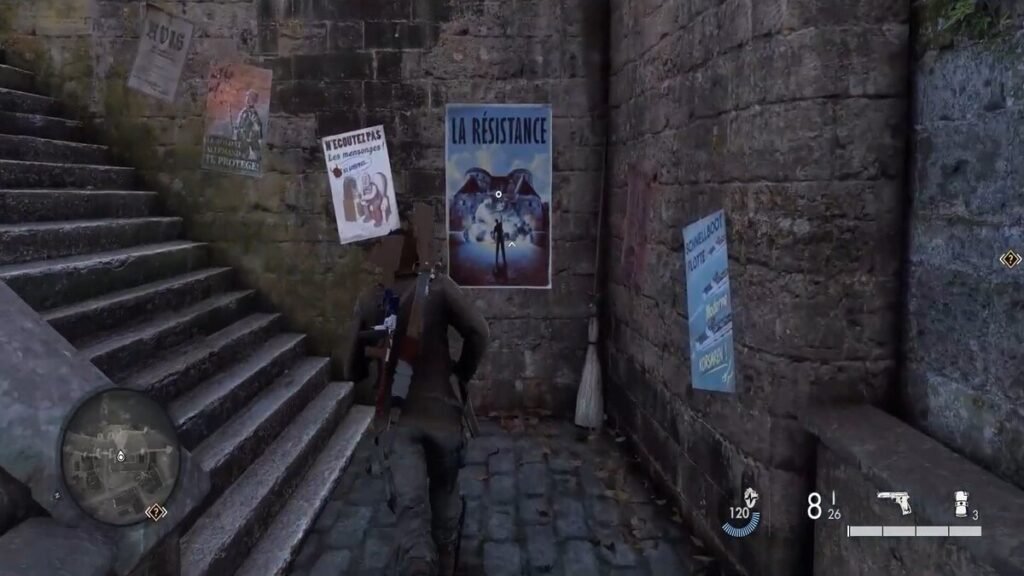
The La Resistance Propaganda Poster is the first Propaganda Poster you will find and it is located right after you cross the stream from your spawn point. Collecting all 7 Propaganda Posters unlocks a time-trial challenge that you can complete for more points.
2. Police Report: #222
The first Police Report for this Chapter is found on the first floor of the Library building, on the left-hand side of the room, on a small table.
3. Police Report: #223

The Police Report: #223 is also in the library, but on its second floor. There will be a small room joined with the Meeting Room, where this Report will be on a table.
4. Police Report #224
This Police Report is in the library building, towards the bottom of the stairs, in the room just behind the Reception Desk.
5. Stone Eagle No. 1
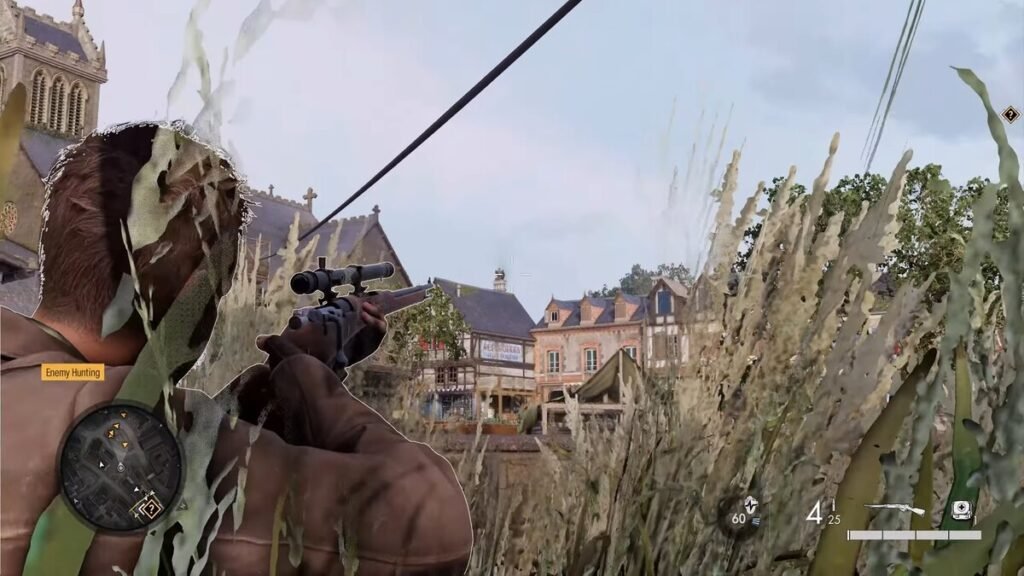
The Stone Eagle Collectibles in Sniper Elite Resistance are located on rooftops and need to be shot down to be collected. The first one is found on the northwest side of the map, on the building shown in the image above.
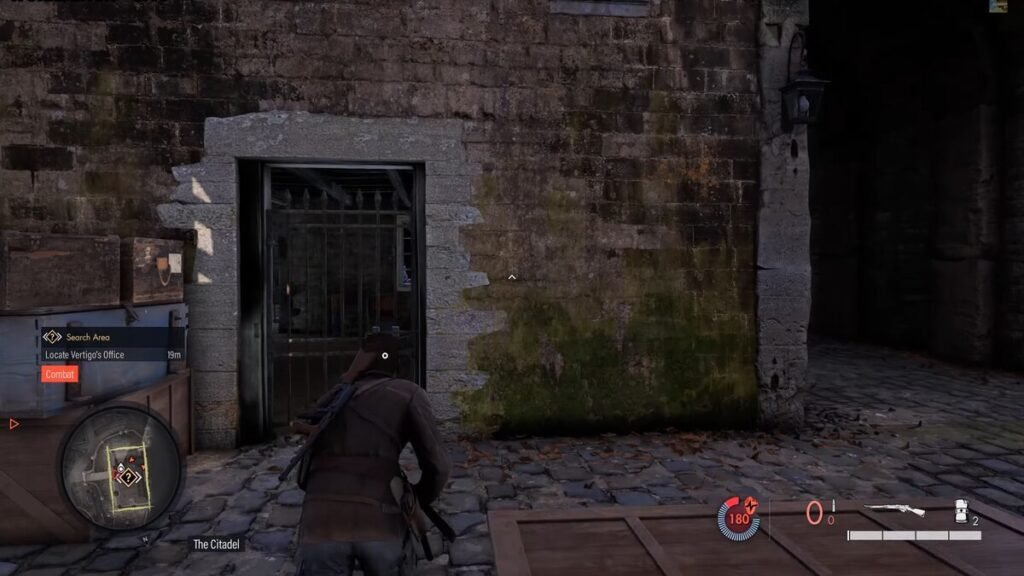
6. Stone Eagle No. 2
The second Stone Eagle is located towards the south of the first one. This Collectible can be seen from the place where you locate Vertigo’s Office in the Dead Drop Mission and you can shoot it down to collect it.
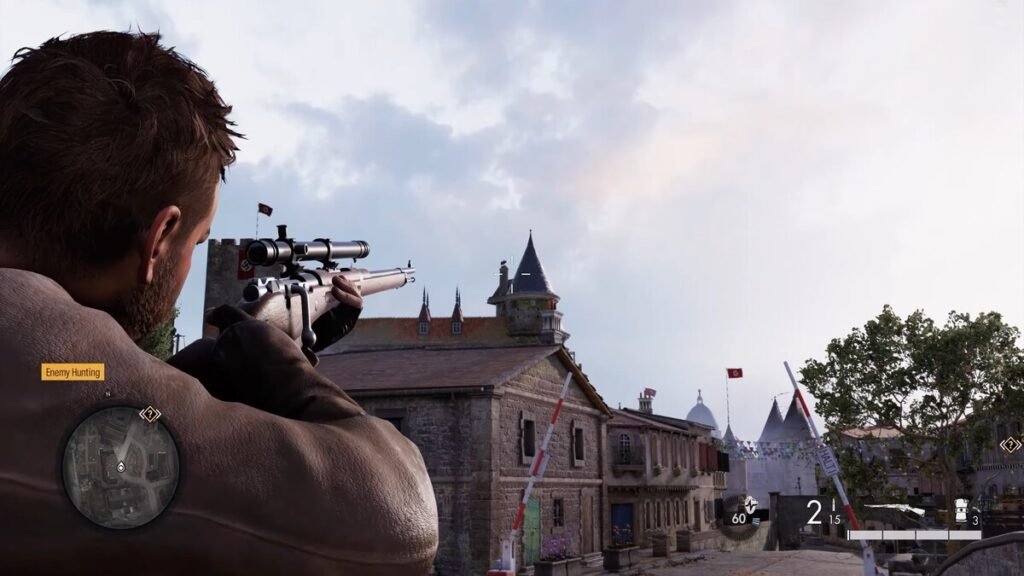
7. Stone Eagle No. 3
The third Stone Eagle is very easy to locate as it can be simply found on top of the building right next to the Library.
8. A Lost Soul Trembles – Personal Letter
Head to the Church in the southwest corner of the map and pick up the Satchel Charge you will come across on the ground floor. Go to the second floor and blow up the safe using these charges to retrieve this Personal Letter.
9. A Withering Tree – Personal Letter
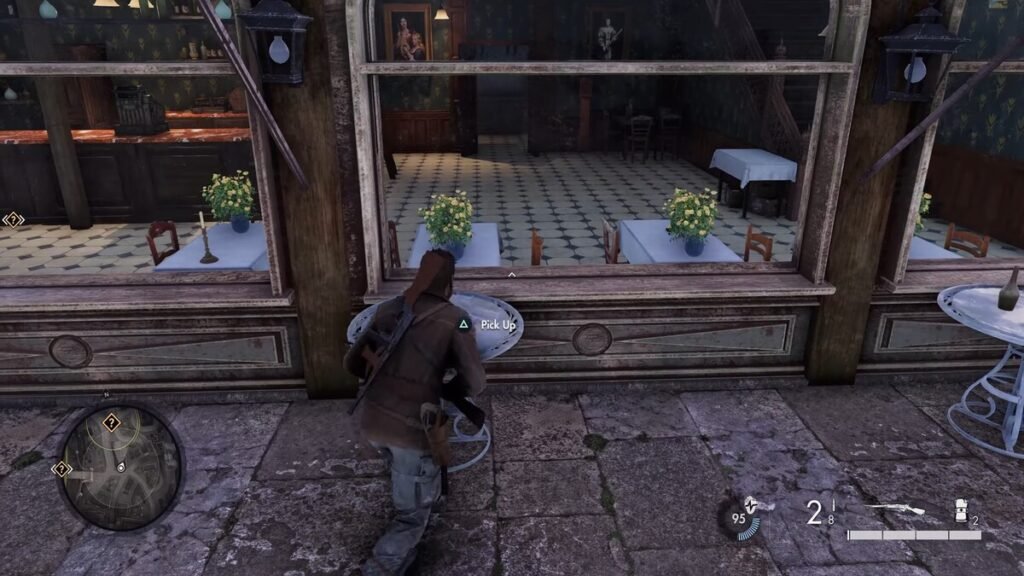
This Personal Letter is much easier to find in comparison as it is simply located on a table outside the restaurant towards the northern side of the map. If you have played the mission then you will remember this as the place where you had to kill Philo Beck.
10. Missing You Dearly – Personal Letter
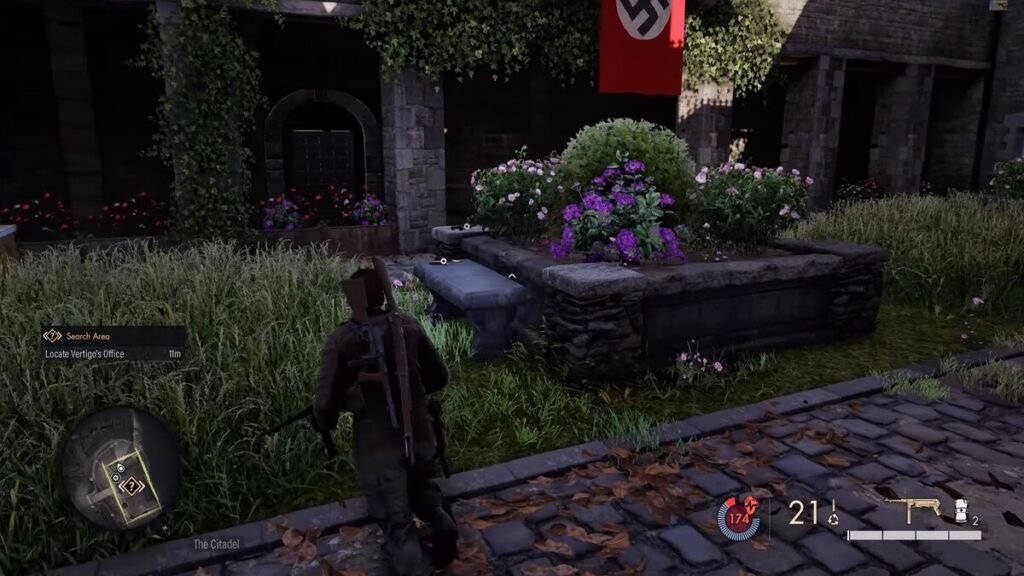
Head to the courtyard in front of the building where you locate Vertigo’s Office in the mission, and head down the corridor on your left to get to a small garden. You will find the Missing You Dearly Letter on a stone bench here.
11. Surrounded By Idiots – Personal Letter
This Letter is very easy to find and there’s a chance you have already picked it up in your adventures. It is on the Reception Desk at the library and you can pick it up to add it to your list of Collectibles.
12. A Nephew’s Concerns – Personal Letter
You can easily find this Personal Letter as well all you need to do is go behind the Library building and look for a bench with this letter on it.
13. Findings Report – Classified Documents
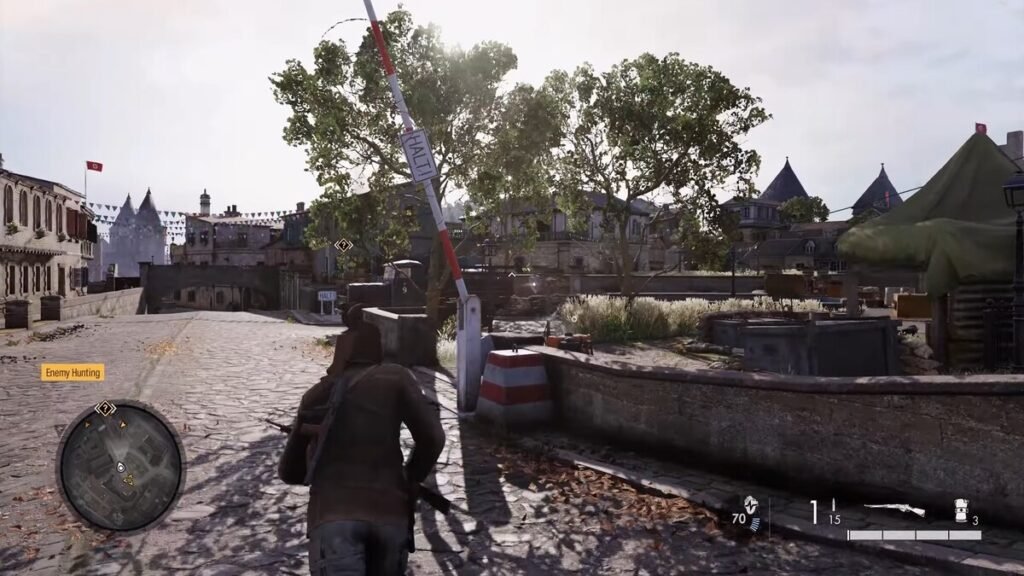
The Findings Report Classified Documents is found towards the bottom-left side of the map. Go to the campsite located across a barricade, and look for a table with communication equipment.
14. Increased Security – Classified Documents
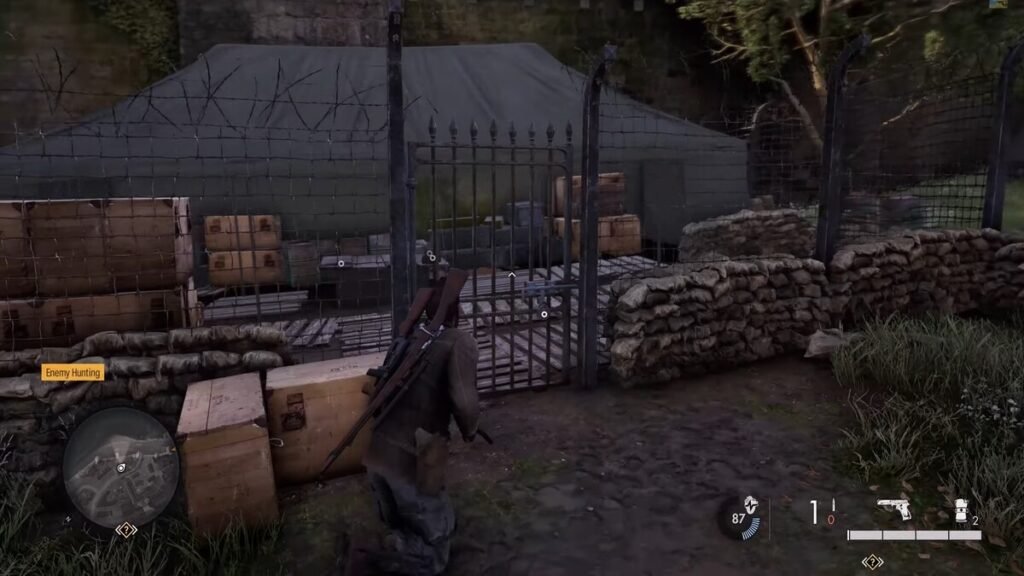
This Classified Document can be found on the bottom-right-hand side of the map. There will be a caged area which you can either access by picking the lock or by breaking the lock using bolt-cutters. This Document will be located on a table in this area.
15. Use the Library – Classified Documents
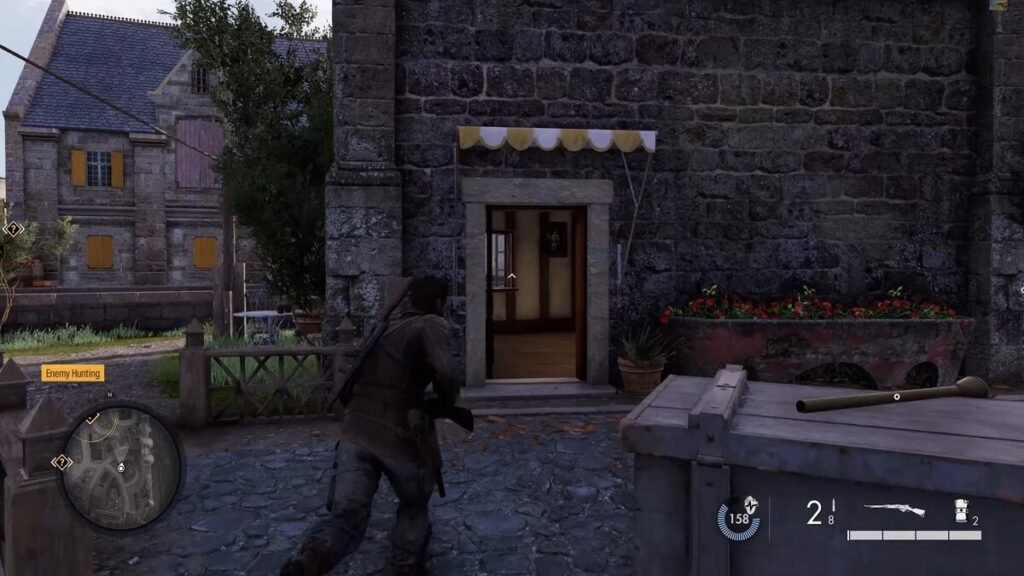
This Document is found in the building shown in the image above, which is closeby to the library. Head to the second floor of this building to get the keys to the safe. Then, go to the first floor to open the safe and retrieve this document
16. Tightening Security – Classified Documents
This document is found in the exact restaurant outside of which you found the A Withering Tree Personal Letter. The Tightening Security Document should be on the first floor, on a table.
17. Orders To Follow – Classified Documents
The Orders To Follow Classified Documents can be found in the area where you found the Missing You Dearly Personal Letters. There will be an entrance to the building in the courtyard, go there to find the Orders to Follow Document on the desk.
18. Rifle Workbench
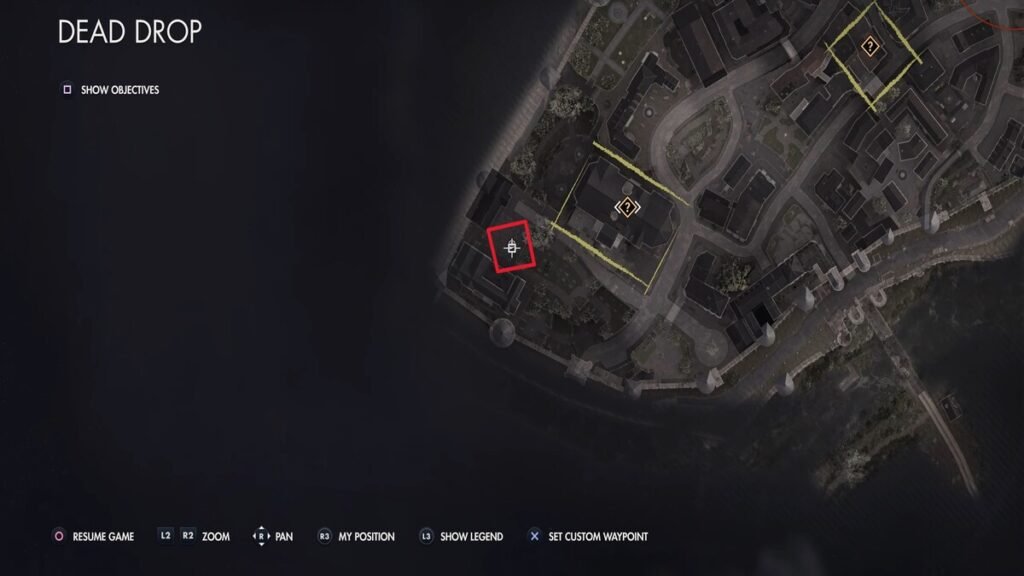
The Rifle Workbench is located in the building in the extreme bottom left corner of the map, marked with the red square above. You can access this building by climbing up to its first floor with the help of some conveniently placed crates. Then go left to enter the office and break or pick the lock to find the Workbench.
19. SMG Workbench
Near the courtyard where you will find the Missing You Dearly Personal Letter, there will be a gate that you can pick or break to find the SMG Workbench just beyond it.
20. Pistol Workbench
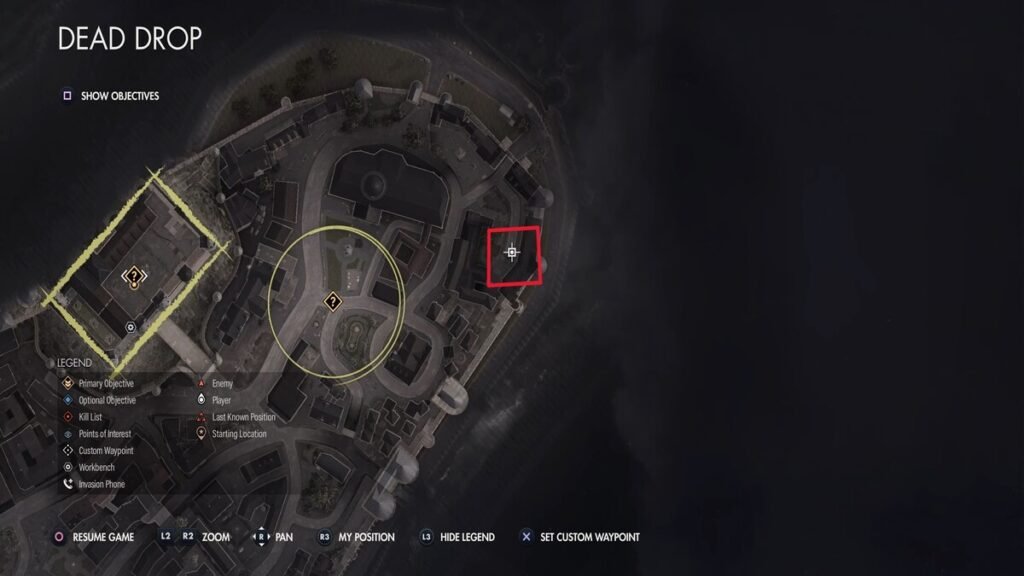
The Pistol Workbench is probably the toughest Collectible item to find in the game as it is located in an underground tunnel. To find this area, head to the location given on the red square on the map above to locate the stairs to the underground. Then take a right and you will find another locked door with the Pistol Workbench located inside.
Alternate Starting Locations
Along with these Collectibles, you can also unlock two alternative starting locations in this chapter of Sniper Elite Resistance by heading to the locations given below:
Scaffold Yard

Head to the exact location given in the map above and find the blue door after you have gone through the barricade. You will then have to either pick this door or use boltcutters to break through it to unlock the first alternate Starting Location.
Citadel Apartments
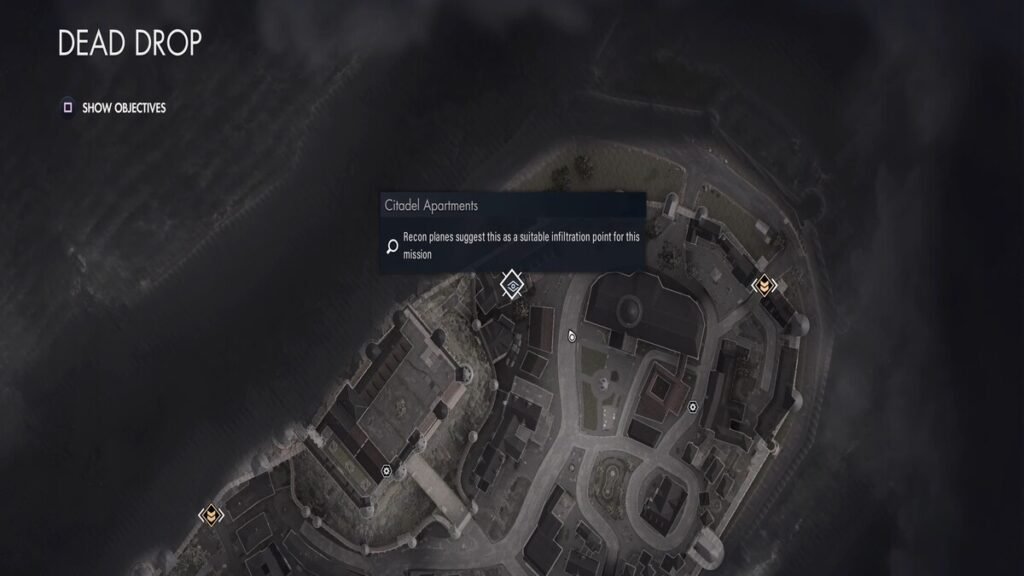
The final alternate Starting Location is on the northwest corner of the map. It will be marked on the map as Citadel Apartments so you shouldn’t have too much trouble finding it. Once you get there, just pick the lock to the dark blue door to unlock this Location.