

All Chapters in Sniper Elite Resistance have secret Collectible items that are located all over the map. While you might have already come across some of them while you were completing the main objectives, some of them are located in secret places and need a little bit of effort to be found.
This article will take you through the list of all the 19 Collectibles to be found in Chapter 4 of Sniper Elite Resistance and tell you how to find all of them. We will also tell you about the different Alternate Starting Locations that you can unlock through the map.
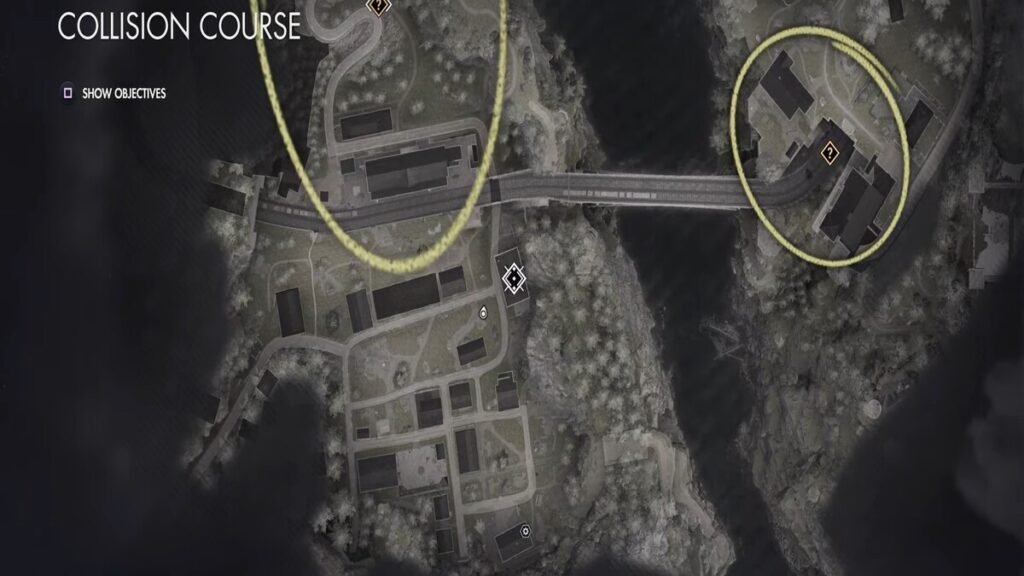
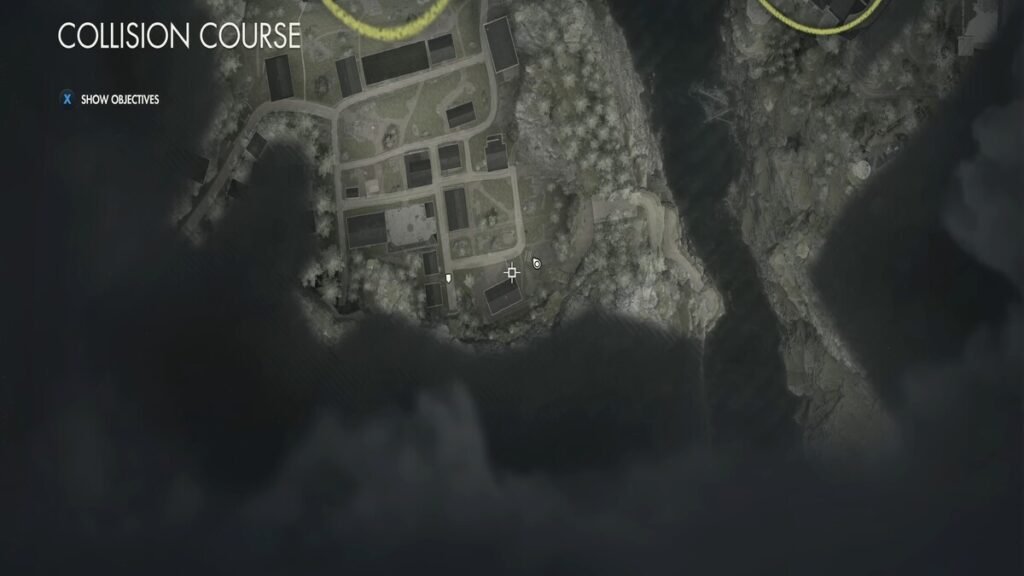
How To Get All Collectibles In Sniper Elite Resistance Chapter 4

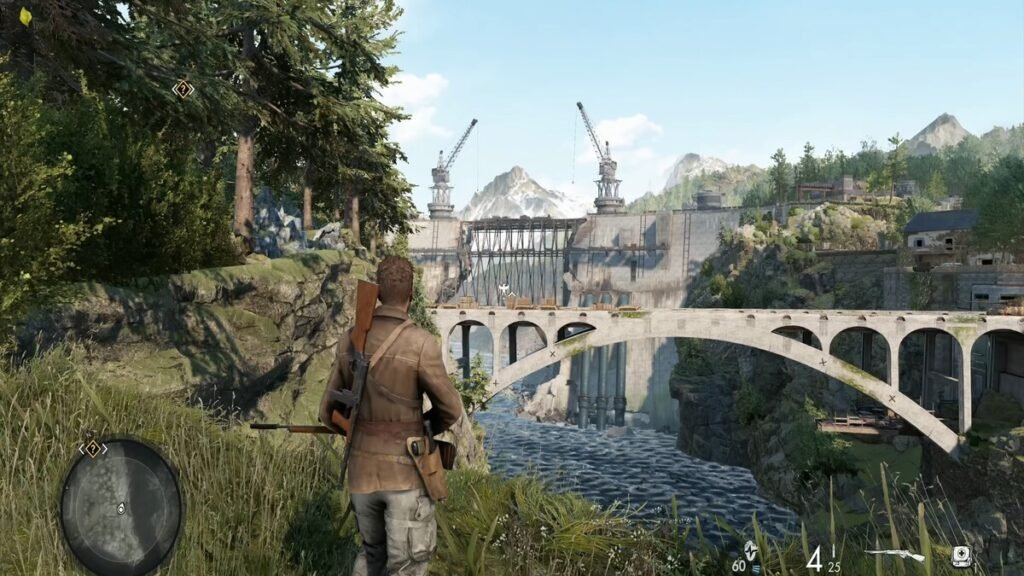
There are a total of 19 Collectibles to collect in Collision Course, the fourth chapter of Sniper Elite Resistance.
1. A Gift, And A Name – Personal Letter No. 1
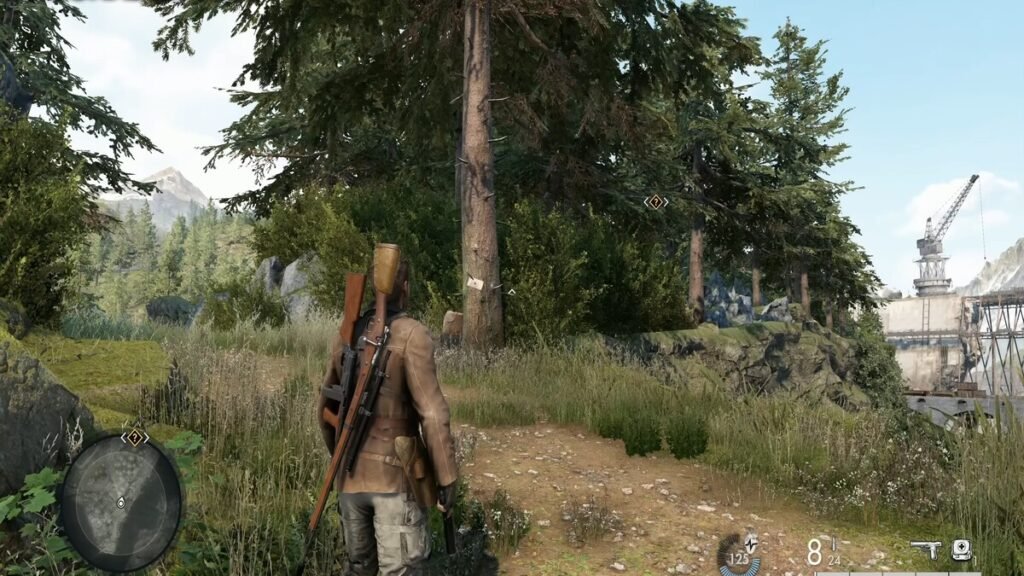
Head to the bottom right corner of the main island to find the location of the first Personal Letter in Chapter 4 of Sniper Elite Resistance. Once you are there, you will notice a bunch of vines that you need to climb to get to the higher part of the map. Here there will be a tree standing out due to a Personal Letter being stuck to it. Simply pick up the Personal Letter to start your collection.
2 I Will Miss You – Personal Letter No. 2
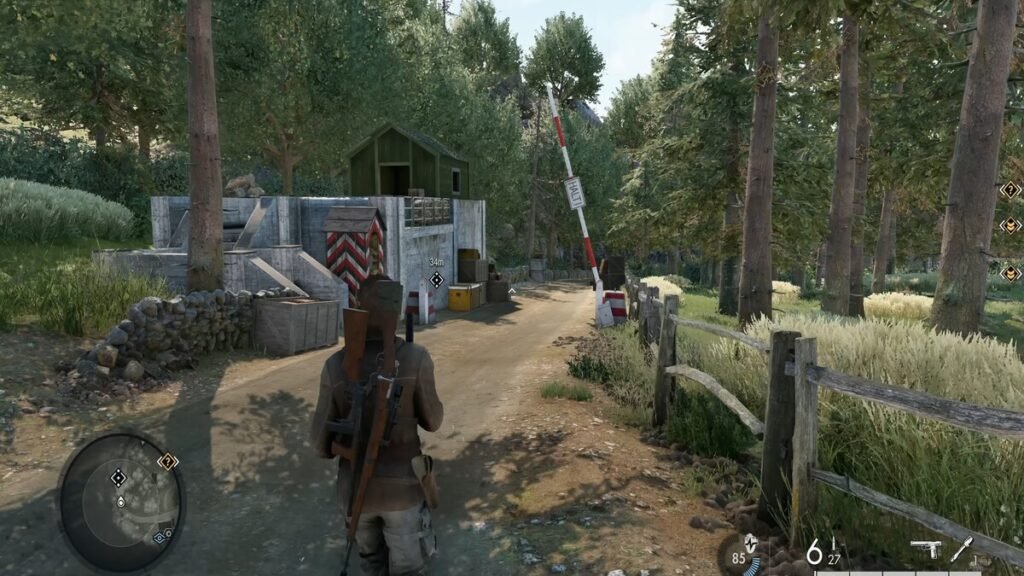
The second Personal Letter is in the extreme top-right corner of the map. Here, you will find a small green building alongside the road. Simply walk inside the building and pick up this Personal Letter from the table in the building.
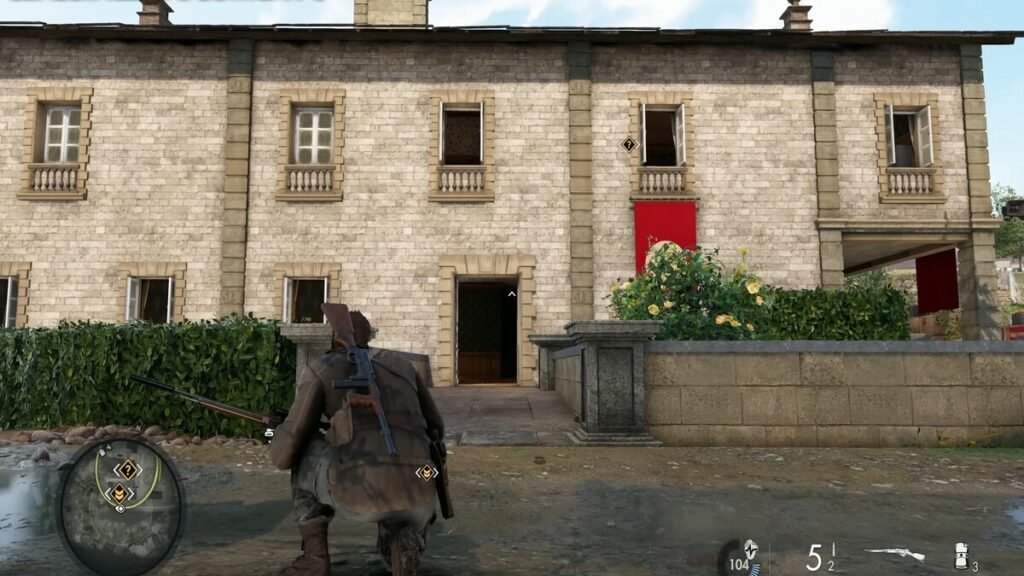
3. What a Discovery! – Personal Letter No. 3
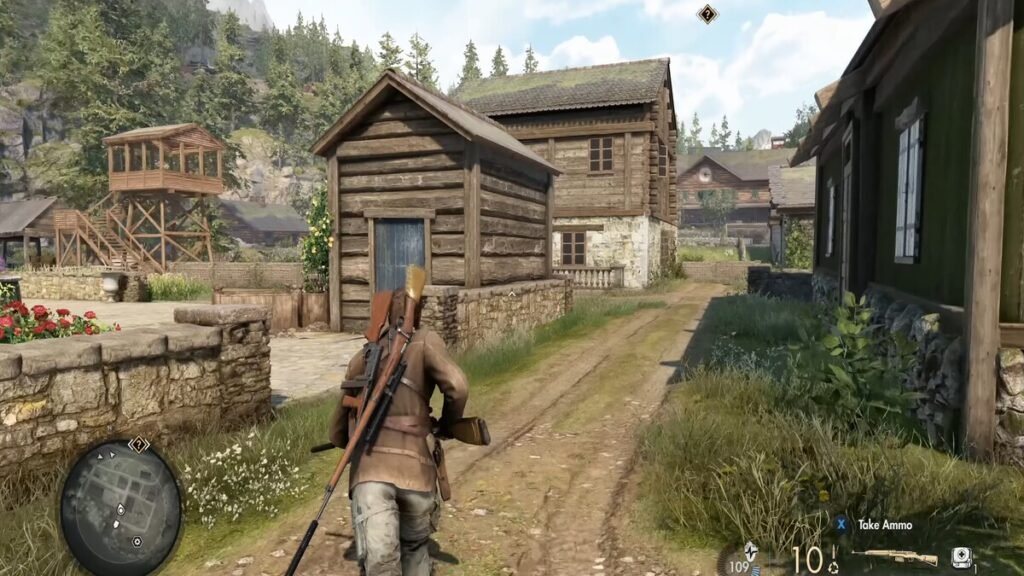
Head to the small town towards the bottom of the map. There are quite a few buildings here but you need to head to the small building with the blue door as shown in the image above. You will have to pick the locks of this door or break them to enter it and claim the third Personal Letter.
4. So Boring! – Personal Letter No. 4
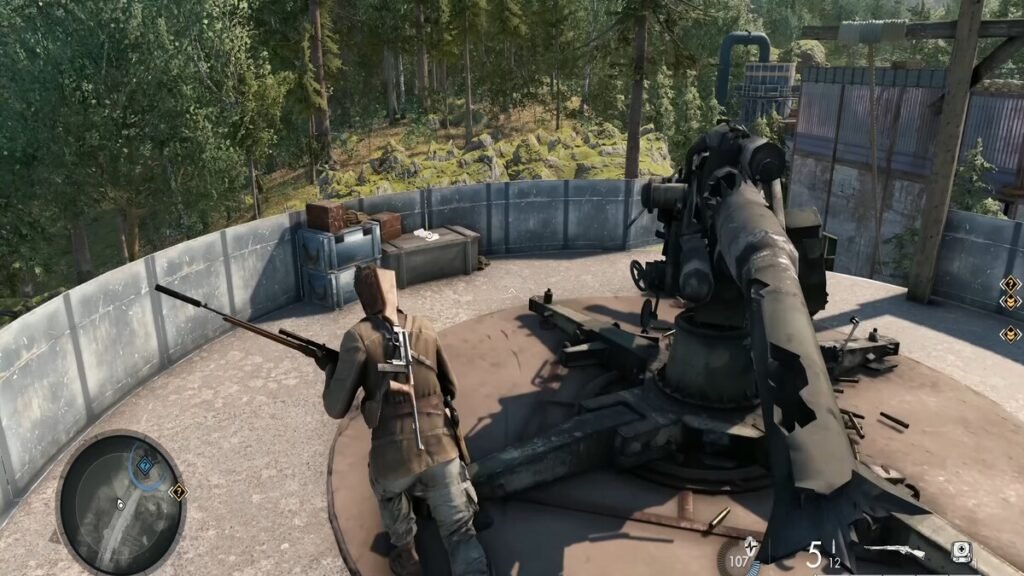
Head to the eastern edge of the dam on the top of the map and climb the cylindrical tower with the machine gun on top of it to find the So Boring! Personal Letter. You might also remember this as the place where you had to destroy the Flak in mission 1 of the Collision Course Chapter.
5. I’m So Sorry – Personal Letter No. 5
Head southeast from the location of the fourth Personal Letter to come across a set of buildings where you had to eliminate intel sources in the main quest of Sniper Elite Resistance. You will find a ruined building here covered with vines, which has a ladder in the middle of it. The last Personal Letter will be found right in front of this ladder.
6. Transfer Details – Classified Document No. 1
The first Classified Document is in the train station near the center of the map. Go to the first floor of this station, which can be accessed from the stairs outside, and find the Transfer Details on a table on the left-hand side.
7. Requisition Orders – Classified Document No. 2
Head back to the top-right corner of the map to the place where you found the So Boring! Personal Letters. Take the zipline right next to it and enter the building it takes you to. This Document will be located on a table on your right side as soon as you enter this building.
8. Findings Report – Classified Document No. 3
Head to the building shown in the image above, which had the objective of destroying the Intel Sources. Climb the stairs to this building, head to the opposite end of the hallway, and enter the open door to find the Findings Report on a table in this room.
9. Requesting Support – Classified Document No. 4
Head back to the small town where you found the What A Discovery! Personal Letter and enter the building shown in the map above with the white marker on it. Climb the stairs to the first floor and you will immediately come across this Classified Document on the first floor.
10. Dam Damage Report – Classified Document No. 5
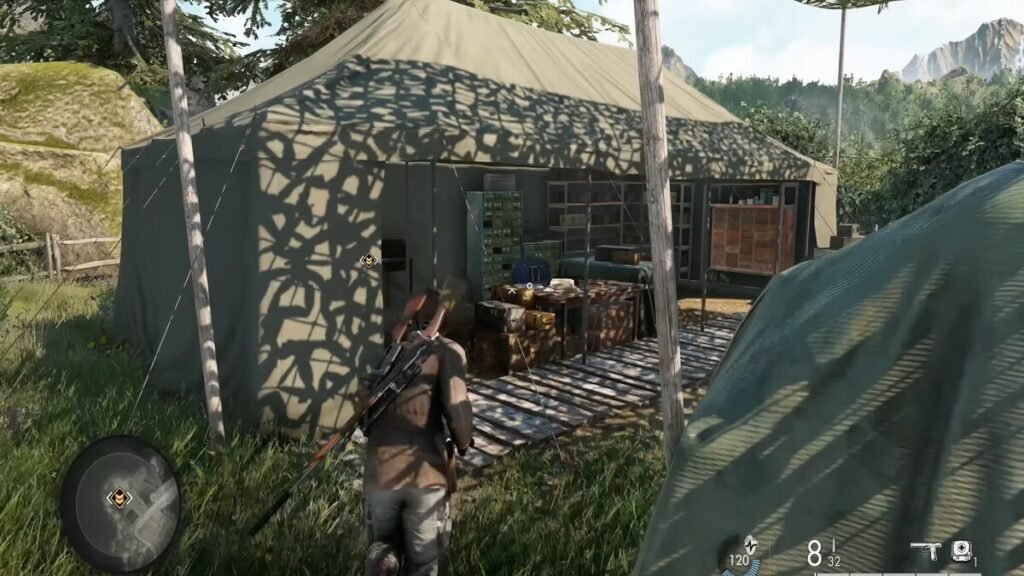
Head to the extreme top-left corner of the Collision Course map and you will come across a tent with many ammunition and other supplies. The final Classified Document will be located inside this tent, on a table in front of all the supplies.
11. Wine Bottle – Hidden Item No.1
This Hidden Item is located inside the train station with the Transfer Details Classified Document. The Wine Bottle will be present on the bar in the room adjacent to where you found this Document, on the first floor of the train station.
12. Gas Mask – Hidden Item No.2
The Gas Mask is also a Hidden Item which is very easy to find as it is located in the same building where you get the Findings Report, in the bottom right of the map. Keep going down the stairs of this building till you come across the basement area. The Gas Mask will be located here on a table and should be easy to spot.
13. Libération Propaganda Poster- Hidden Item No.3
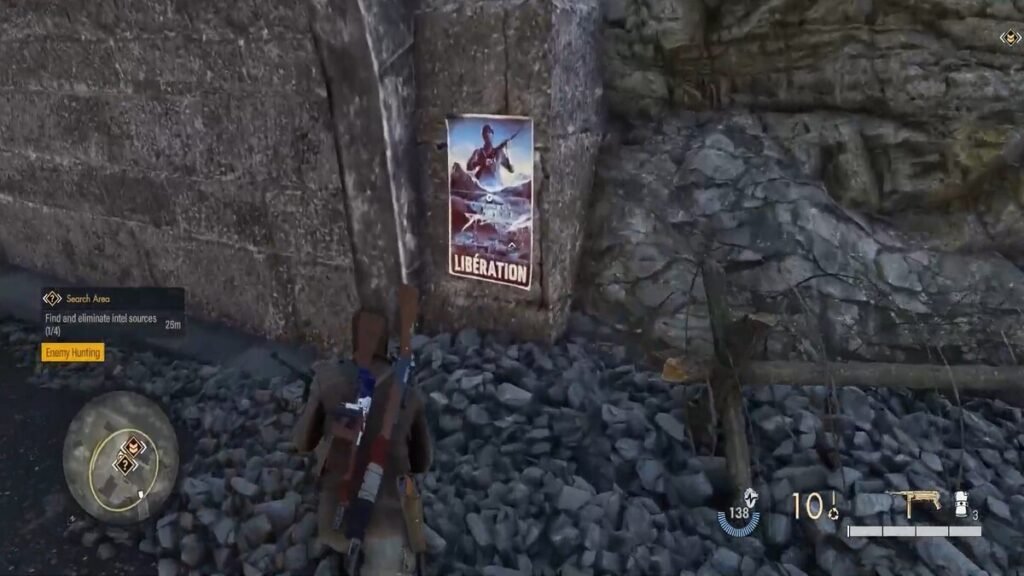
Exit the building where you found the Gas Mask and climb the vines down towards the train tracks. The Libération Propaganda Poster will be available here just before the entrance to the tunnel. You can collect this Poster to unlock a special time-trial challenge.
14. Stone Eagle No. 1
The Stone Eagles in this map are probably the toughest Collectibles to spot by yourself but the first two of them can be shot from the same location. Head to the place where you found the first Personal Letter and look towards the north with your sniper rifle to see the metal beams made to support the dam. This Stone Eagle will be perched on one of these beams and can be easily spotted through your sniper rifle. Shoot down this Eagle to claim this Collectible
15. Stone Eagle No. 2

From the same spot where you shot the first Eagle, look toward the east to spot a huge stone tower on the bottom right corner of the map. This Stone Eagle will be sat on top of this tower and will be much easier to spot and shoot down.
16. Stone Eagle No. 3

Head back to the train station, to the room with the Wine Bottle on the first floor. Go to the balcony of this room and use your sniper rifle to look toward the north and you will spot the last Stone Eagle, on top of a large rock structure.
17. Rifle Workbench

The Rifle Workbench is in the same building where you have the Requisition Orders Classified Document. Exit out of the room with the Requisition Orders through the flight of steps next to it. Take a left to enter a room that has a locked door in its far left corner. Pick the lock of this door or break it to find and use the Rifle Workbench.
18. SMG Workbench

Head back to the train station and follow the train tracks to locate the Search Area which has the objective of location salvaged technology. Find the building with the ladder as shown in the image above and climb down to locate the room with the SMG Workbench in it.
19. Pistol Workbench
The final Collectible item in the game is found in the extreme bottom corner of the map in the building shown in the map above. Enter this building through the vines outside and get to the top floor to enter the room with the Pistol Workbench in it.
Alternate Starting Locations
Like all the Chapters in the game, there are two Alternate Starting Locations you can unlock in Chapter Four of Sniper Elite Resistance.
Dam Lookout

The first alternate Starting Location can be found on the top left corner of the map in the location titled Switchback Road on the map. Head to this location and interact with the campfire in front of the tent to unlock this Starting Location.
Power Station
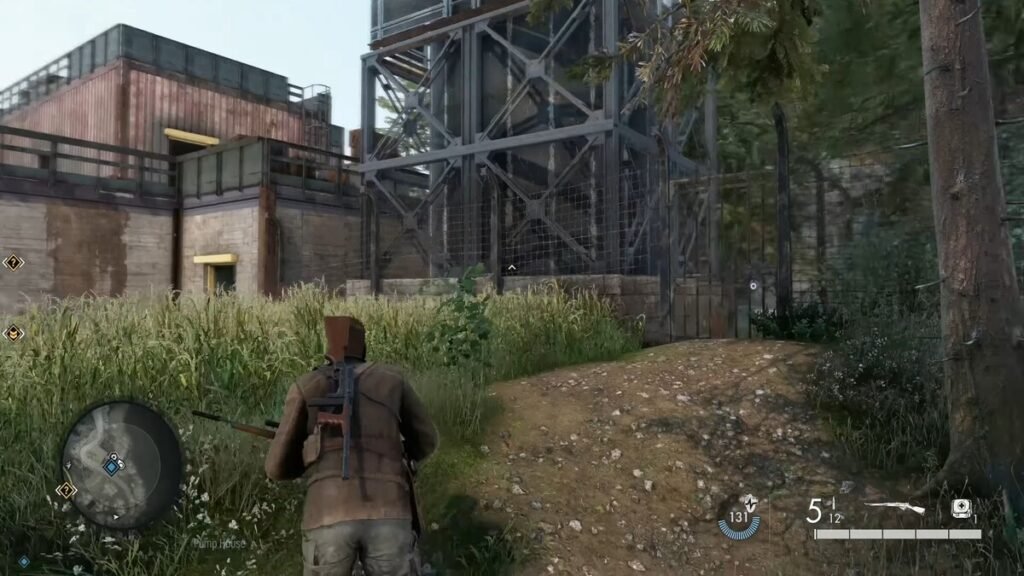
Now you need to head to the top right corner of the map, in the location titled the Pump House on your map. There will be a caged area behind the main building in that area which you can pick or break the doors to, to unlock the final Starting Location in Chapter Four of Sniper Elite: Resistance.
In case you have a few collectibles missing from Chapters 2 and 3, do check our guides on these as well.