

The Sundered Doctrine is one of the newest dungeons to be added to Destiny 2 with the release of the Heresy Episode. This is one of the toughest dungeons in the game as it requires a lot of brain power and includes a challenging final boss encounter.
This article will tell you how to get through all the three Encounters in the Sundered Doctrine Dungeon in Destiny 2.
How To Start The Sundered Doctrine In Destiny 2
Before starting the Sundered Doctrine in Destiny 2, you should ideally pick up the quest titled The Drowning Labyrinth, as it will give you a much better idea of the background and story behind this dungeon. You should also be taking on this challenge with a group of friends as doing it solo is practically impossible.
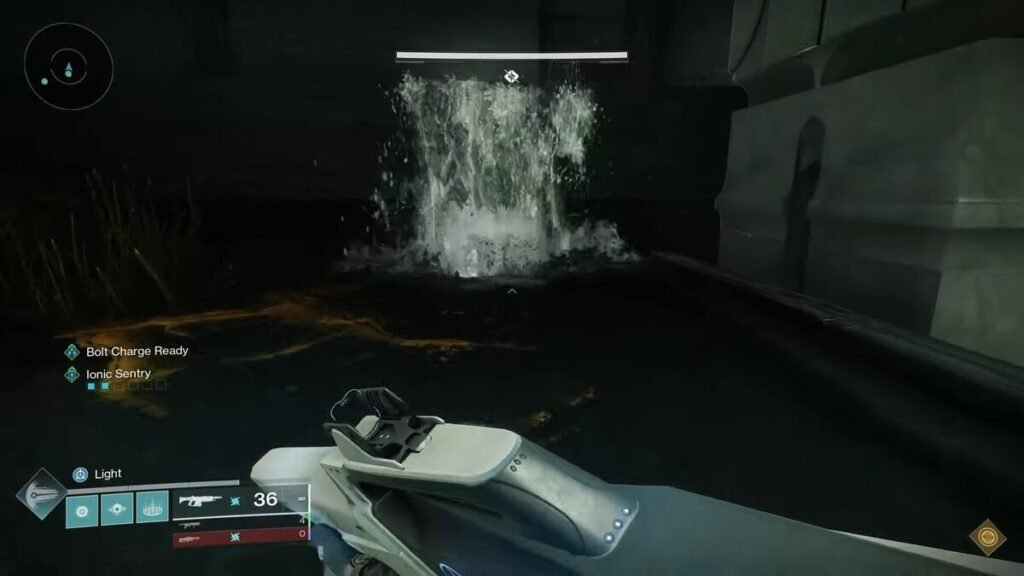
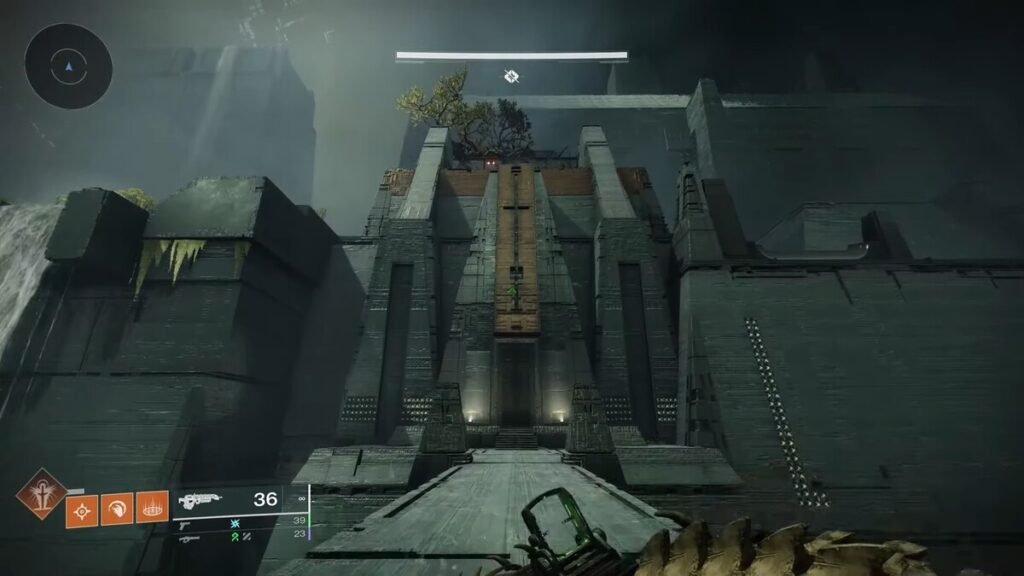
Once you have started this mission, drop down from the spawn area and take the bridge toward the big door. Take a left before you get to the door and simply follow the path in front of you to enter the arena. There will be a few monsters along the way but none of them should give you much trouble. Just keep following the only path available to you until you get to the water region. There will be a secret entrance here that you can enter through a small waterfall as shown in the image above. Once you drop down into this, you will find the First Encounter, where the real challenge starts.
The First Encounter
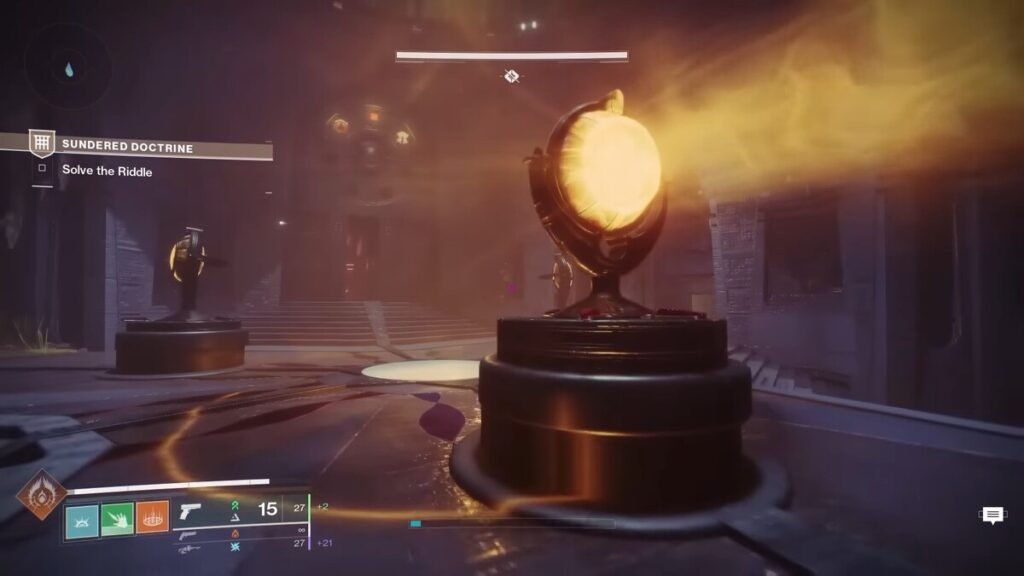
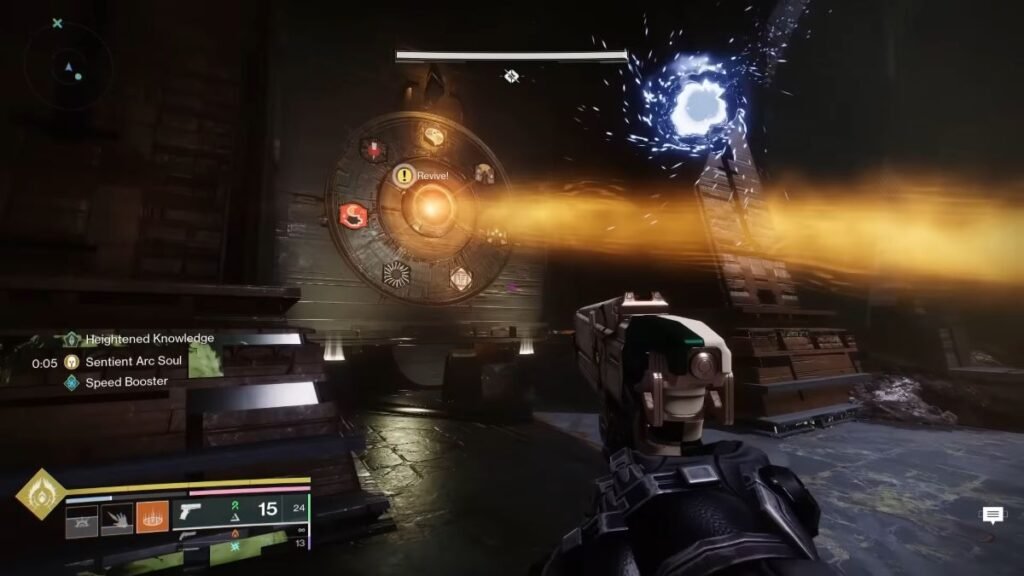
As you enter the room of The First Encounter, you will see a rally, along with three lenses and a few symbols on the wall in a circle like a wheel. There will be four rooms next to this room, and each room will have a wheel as well as a few lenses. There will also be some sockets, that are missing a lens and on which you can place lenses and rotate them as well.
The main goal of this Encounter is to use these lenses to direct the beam of light to the wheel on the wall. There will be two useful types of enemies here:
- the Truthspeaker Grim drops a symbol when killed. This symbol will correspond to a wheel in one of the rooms.
- Subjugators will drop a lens whenever they are killed, you can use these lenses to direct your beams to the right destination.
- So, look at the symbol dropped by the Truthspeaker, go to that room, and use the lenses to direct the light towards the right symbol.
The best strategy here is to split up and take a room each, with someone covering for the extra room as well. The shortcuts between walls in these rooms will help things from slowing down too much. Remembering the symbols dropped by the Grims is also going to be key, and you might want to have a list of the official symbol names close to you when you are doing this mission. You may also want to number or have a codename for each one of the rooms to make things easier.
Also, make sure to place your lenses instead of rotating them and also to rotate the sockets in the correct direction before you place your lenses as you can only rotate them after placing them for a limited number of times before they break.
Head to the main room and shoot the nodes above the lenses to start the Encounter, after which you should focus on killing Subjugators to get lenses. Note that you can only hold one lens at a time. Then you should kill the Truth Speaker Grim wherever it spawns, and call out the symbol it drops. Match this symbol to one of the rooms and place the lens to make sure it lines up in the correct direction.
Once the path for the first room is complete, the player of that room should head to the main room and shoot the node above the main lens. If done correctly, you will see a text saying “The Pyramid accepts a truth.” If not, a Tormentor will appear, and you start from the beginning once again.
You will then have to perform all the steps given above once again for phase two, which requires you to complete two beam paths, and then phase three which requires you to complete three beam paths.
Traversal To The Second Encounter
A pathway will open up after completing the First Encounter and you can follow it and drop down to the levels below. You will find three Darkness Nodes here, which you can shoot to unlock a secret chest with some loot in it. Follow the pathway till you get to a large room with many Attendants. Find a door here in this room, which leads you to a hallway from which you can jump down to a pit.
You will find a tunnel here, jump down to a room to find a slope-like area with a giant, spiky ball jumping toward you. Simply dodge this ball by using the holes in the wall to the side to hide in and letting it go past you. Once you head up this slope, you will see a hole in its middle which you can jump down into and you will find yourself in a room with a few wheels, similar to the First Encounter.
Every wheel will have an active symbol and you can only change its direction by performing an AoE attack on it. The only way to actually move the symbols on the wheels is to use the Knowledge Buffs dropped by the Wizards. These Perceptor Wizards can be killed to receive certain darkness splinters or Knowledge Buffs.
- One Stack = Heightened Knowledge
- Two Stacks = Brimming Knowledge
- Three Stacks = Overflowing Knowledge
You can use these Buffs to rotate the Symbols on the wheel and match them to the one by the exit door to head to the Second Encounter.
The Second Encounter
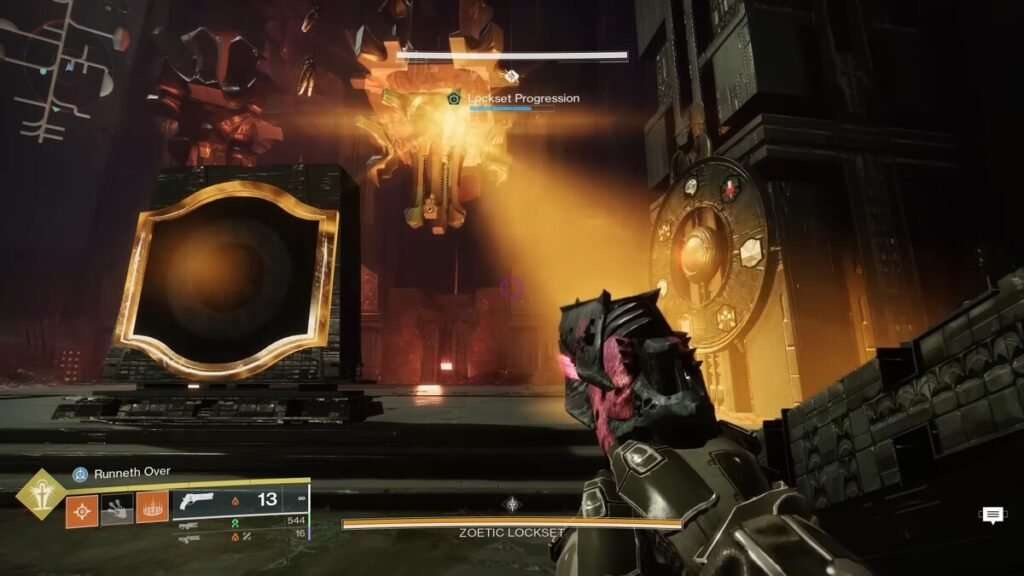
The Second Encounter has four large Shriekers as its boss, but killing them isn’t simple as they share a massive collective HP bar. All these four Shriekers also have a billboard in front of each of them and there are also four Wheels, similar to the ones in the Traversal phase. If you want to start damaging these Shriekers, then at least one of these billboards must show the ‘Kill’ Symbol.
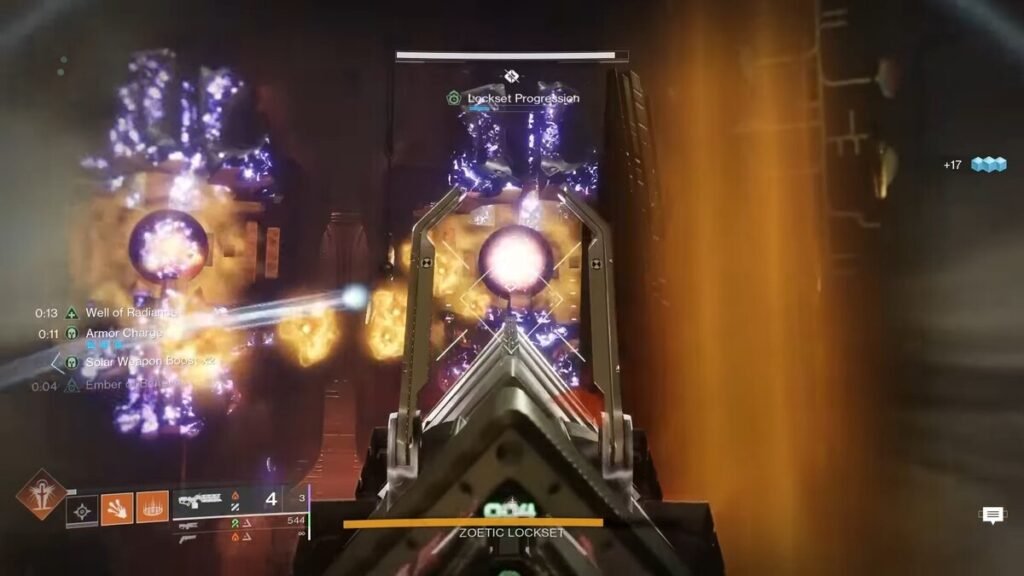
Whichever symbol is on these billboards will affect what that phase of the battle is like. The Hive symbol will spawn an Ogre, and the Brain will spawn Knights and Wizards. The symbols you need to focus on putting on these billboards are the Stop and Kill symbols. The Stop symbol slows down the spawn rates of enemies while the Kill symbol lets you do damage to the Shriekers.
Your goal here should be to get the Stop symbol on three of the billboards and the Kill symbol on the last one. You can change the symbols on the billboards by using the Knowledge Buffs dropped by the Perceptors to change the active symbol on the Wheel. Also, remember that you can change whether the wheel moves clockwise or anti-clockwise by shooting the symbol above it.
Once you change the symbol on a wheel, the corresponding Shrieker for that wheel will open its eye to look at the wheel, then it will look at you and lock in the wheel on the board. Do this for all four boards and set one of them to the Kill symbol to start dealing damage.
The damage phase should be fairly easy if you use the Sleeper Simulant and have your teammates back you up in defeating the Ads that spawn throughout. You can also use the Grand Overture to cause even more damage and while this phase might take a lot of time, you can get through it with proper teamwork and communication.
Traversal To The Final Encounter
Once you are done with the Shriekers, they will drop their large eyes. You will have to roll one of these eyes to the platform in front of the loot chest. Once you have done this, you need to jump down the large waterfall and enter the hallway with the white light emerging from it. Then, follow the red lights, which will lead you to some enemies, and then to a wide area with a huge work skeleton on top of it.
Go through this huge skeleton by entering its ribs and you will find yourself in another big room with lots of lenses in it. This mini-game will be relatively easy as you just have to match up two of the lens beam paths, which you can do by matching the symbols on top of them to the main lens in the middle of the room.
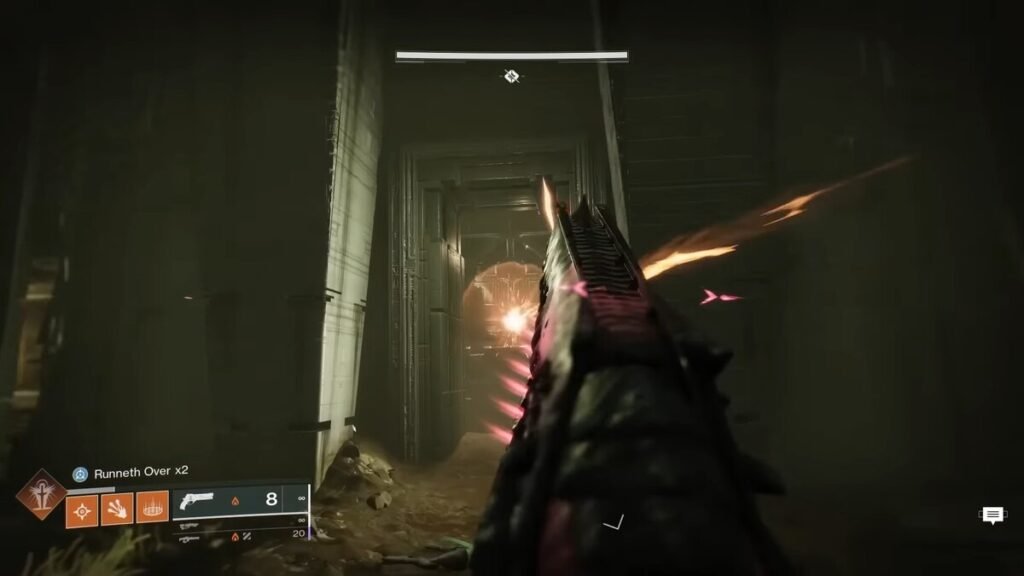
This opens the glowing barrier after which you can then enter a room and shoot the door shown in the image above to enter the Final Encounter.
The Final Encounter
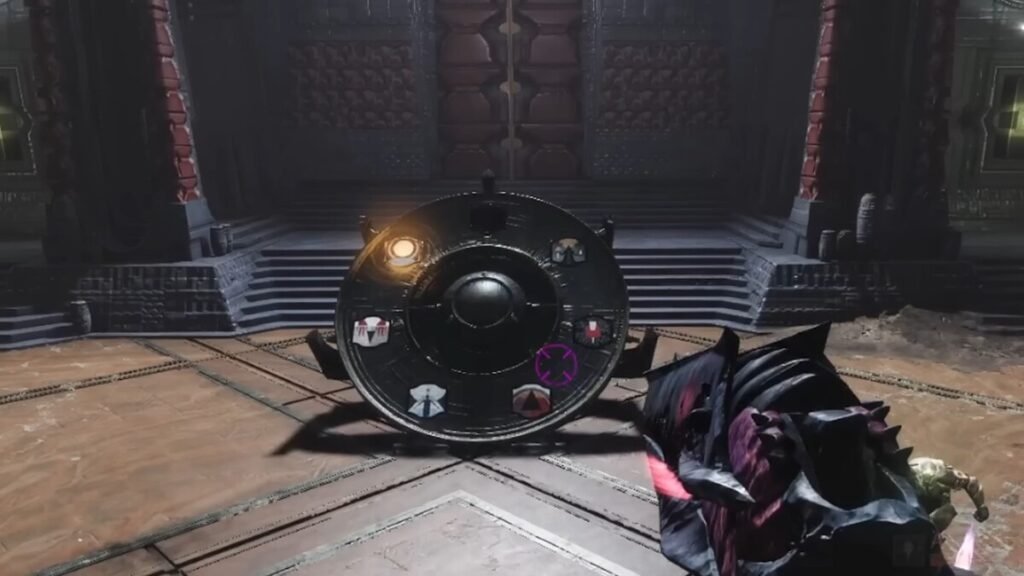
The final boss to kill in this dungeon is Kerrev the Erased. There are three rooms in this large arena, and a small, downstairs area below the boss. There is also a wheel behind the boss, and you need to activate certain symbols on this wheel to start the Damage phase of this Encounter.
The Symbols that you need to activate will be either the three symbols on the left side of the wheel or the three symbols on the right side. To find out which symbols to activate, find the Truthspeaker Grim in one of the three rooms, similar to the First Encounter.
The Grim will drop a symbol. Note down this symbol and light up the symbols on the other side of the wheel. To make it clearer, you do not have to activate the symbol dropped by the Truthspeaker Grim but the three symbols on its opposite side. Some of the symbols will already be illuminated and some will have to be de-illuminated by heading to their respective rooms.
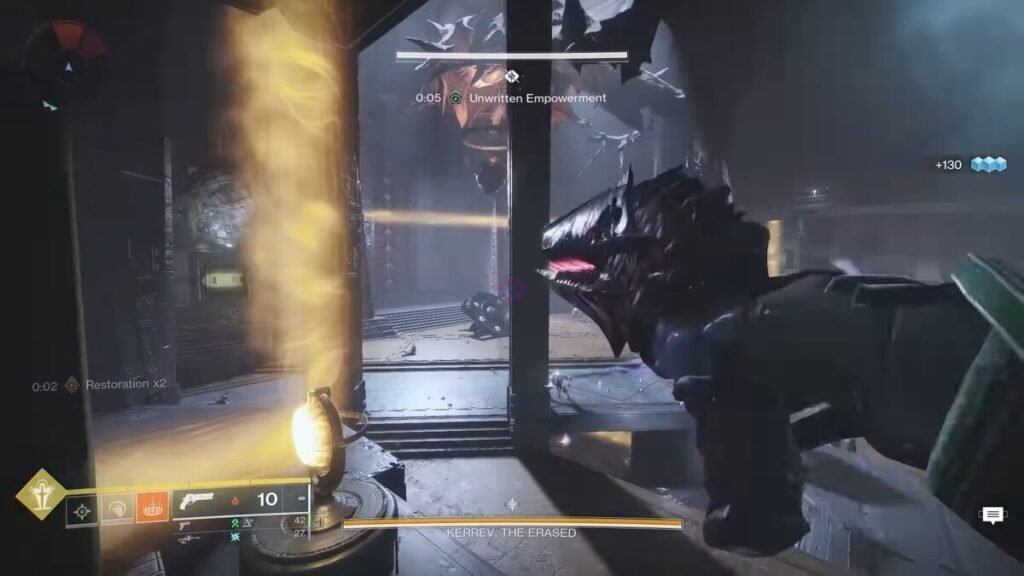
If you want to de-illuminate a symbol, find its room and kill the Unwritten Attendants. You will gain a temporary buff from this called the Unwritten Empowerment. You can use this buff to shoot the stranded entanglements that tie up the lenses. Once you have shot all of them down, you can rotate the lens to de-illuminate them.
Once you have illuminated all three symbols, activate the button in front of the wheel and begin the Damage sequence. Keep shooting the boss and taking cover whenever required. Use a Divinity or the Queensbreaker to cause a lot more damage. Deal as much damage as possible and try to keep track of the movement of the boss which can be difficult. Repeat this until you finally kill Kerrev the Erased to complete the Sundered Doctrine Dungeon.
And with that, you would have finally conquered the Sundered Doctrine in Destiny 2. Do check our guide here to uncover all Nether Dreadnaught secrets introduced in the Heresy update in Destiny 2.