

Destiny 2’s current episode “Revenant” got a third act which was released on 7 January 2025. This act includes an Exotic shotgun, a new pursuit, a few sandbox changes, and a brand new Exotic quest “Kells of Kells”. In this guide, we will go through everything you need to do in order to complete this quest.
How To Start Kells Of Kells In Destiny 2
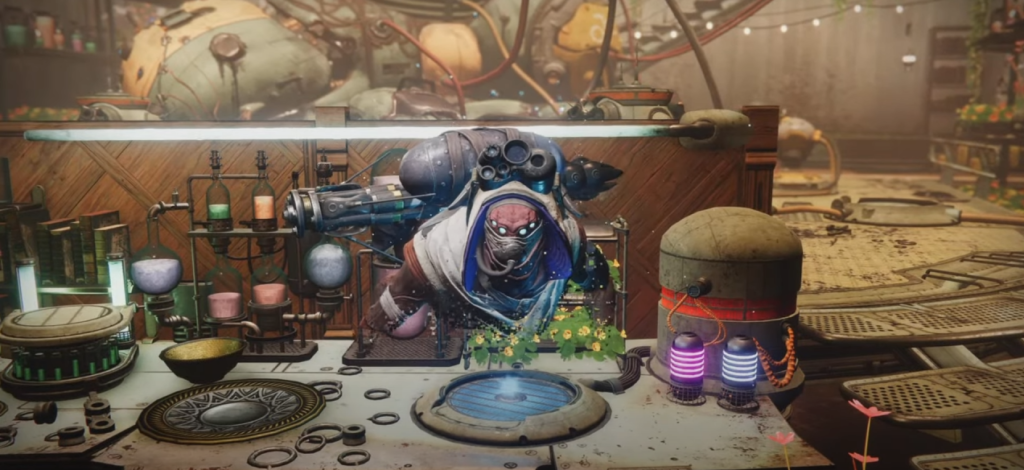
Go to the Hub for Emergency Logistics and Maneuvers or H.E.L.M located at Market District in the Last City and interact with Eramis to add the quest to your log. Now go to the Variisis Core and talk to The Spider, who reveals that you must speak with Eido at the holoprojector. Head back to H.E.L.M and approach the holoprojector. This gives you the Exotic shotgun frame and unlocks the quest Kells of Kells.
How To Complete Kells Of Kells In Destiny 2
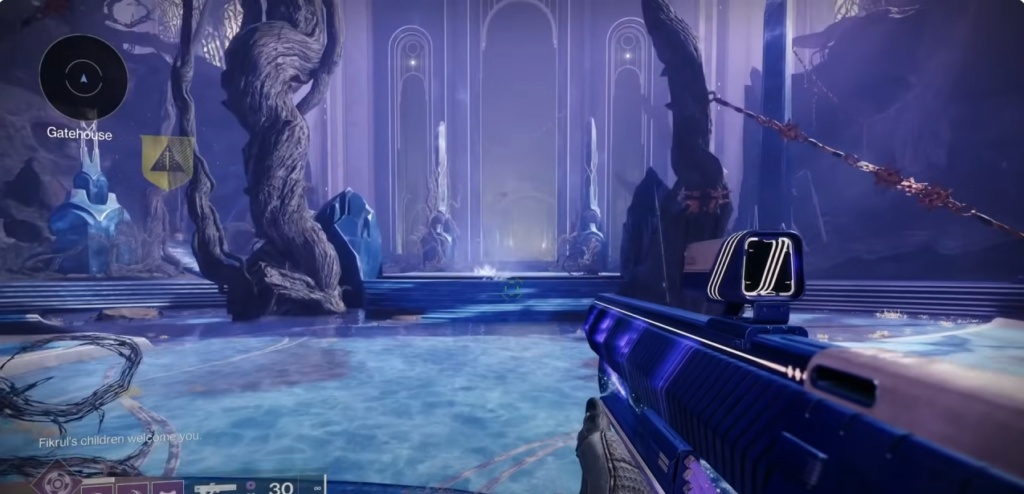
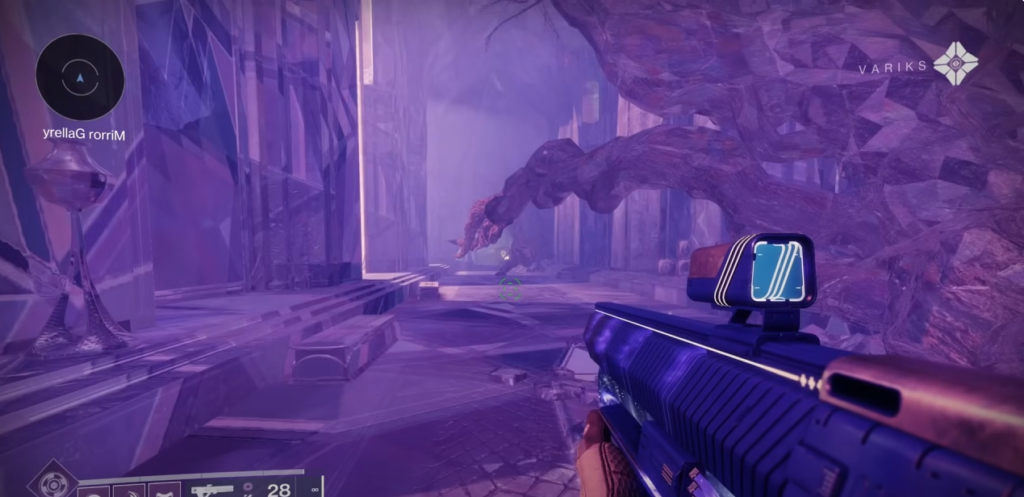
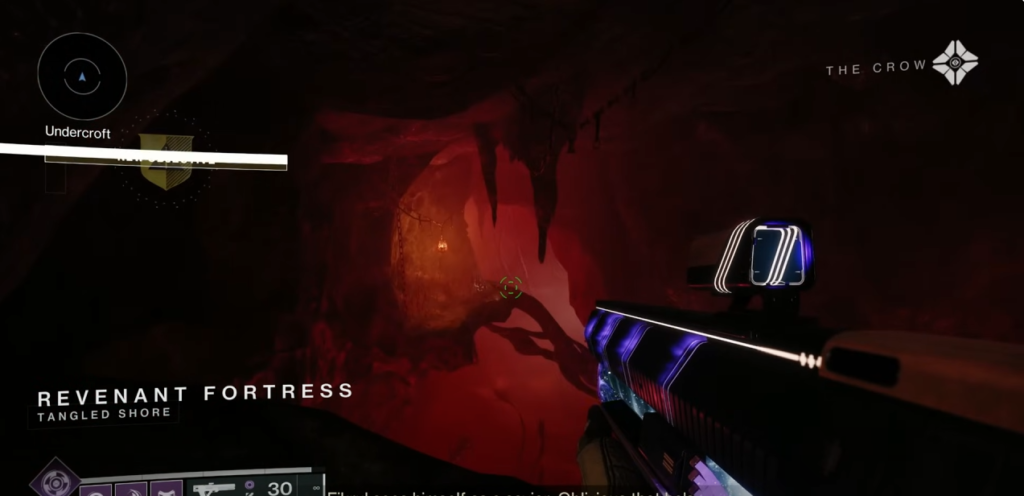
You must navigate through the watchtower to search and defeat Fikrul to finish the quest. However, it is not as easy as it sounds – you need to traverse through multiple puzzles and beat several bosses before you can fight Fikrul. Go to the Tangled Shores, and start heading towards Dreaming City watchtower. If you’re going in the correct direction, you will find non-hostile Scorn on the way.
Arakses the Trickster
When you reach the courtyard of the watchtower, you will encounter Arakses the Trickster. This boss fight isn’t very tough, the only thing you need to remember is to be careful of the stalkers and wraiths. Switch your attacks between them and the Trickster, and eventually she will run away when the last of her two HP bars deplete down to one-fourth health.
The Organ Puzzle
Head into the watchtower after you have defeated the trickster. Go straight from the green-lit room, until you see a Scorn playing what seems to be an instrument. When you get close, he disappears and you get to interact with the instrument yourself.
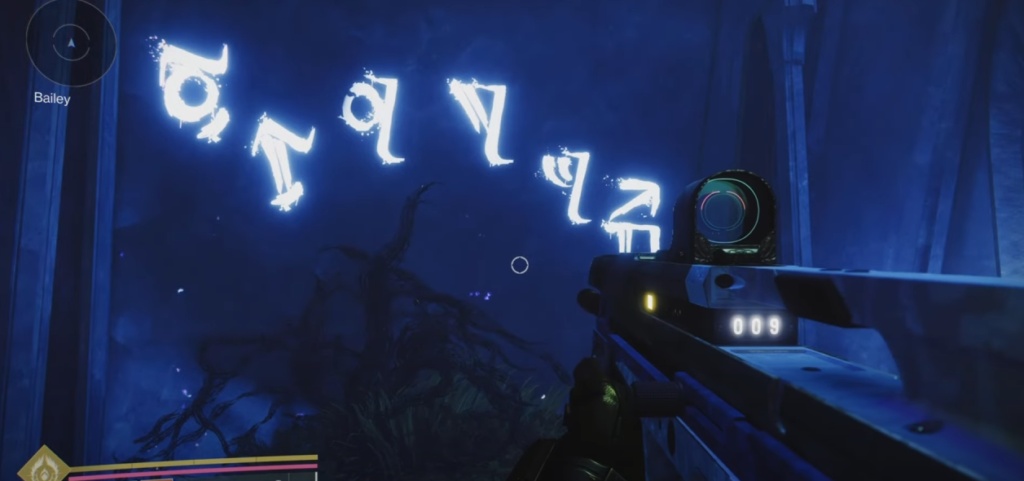
Instead of a trial-and-error method, head up the stairs to your right, then up the stairs to the left, take another right and finally another left. You will see a room lit with a blue tint, and next to the statue in this room is the solution to the puzzle. Note that the solution to the puzzle may differ for each player, but the correct solution for you is always carved on the wall. Return to the puzzle room and stand on the circular platform, then shoot the correct signs and step off. This will open a door that gives you an upgrade for your Exotic shotgun along with other loot.
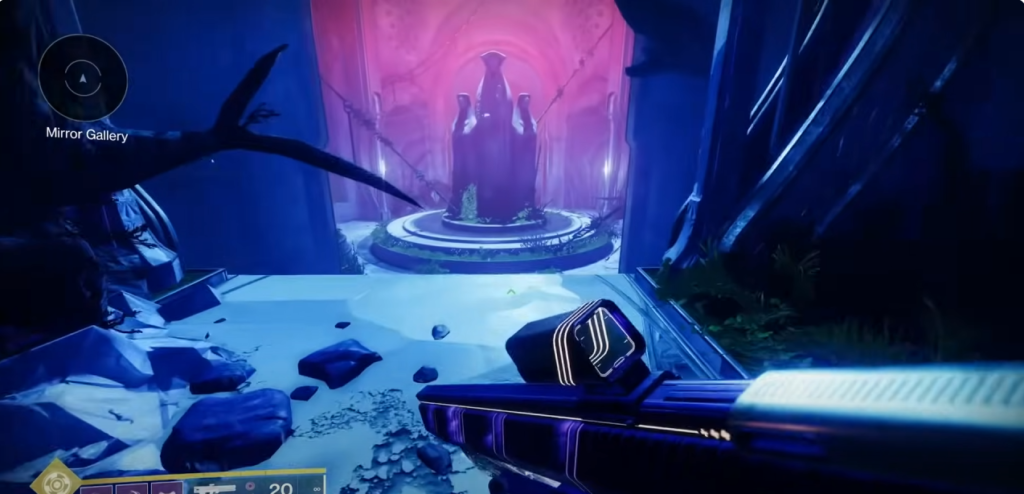
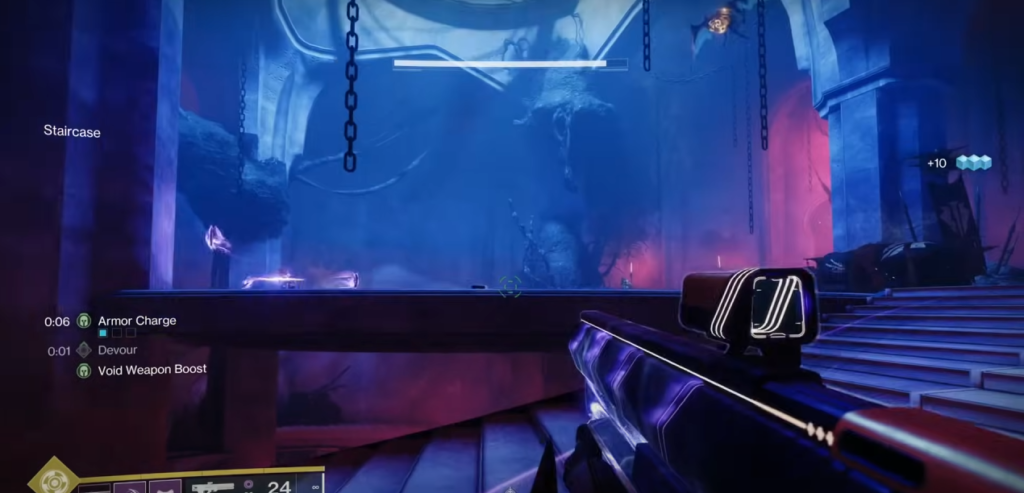
The Mirror Gallery

From the organ puzzle, take the stairs to your left, then right, another right and finally a left. You will spot an unlit brazier and an option to activate it when you get close. These braziers are spread all across the watchtower, and each of them has a use. Light this brazier and the door beside it opens, go inside and you will see a lamp and a set of glowing rocks nearby. Shoot these rocks to break them, and go through the path that opens up.
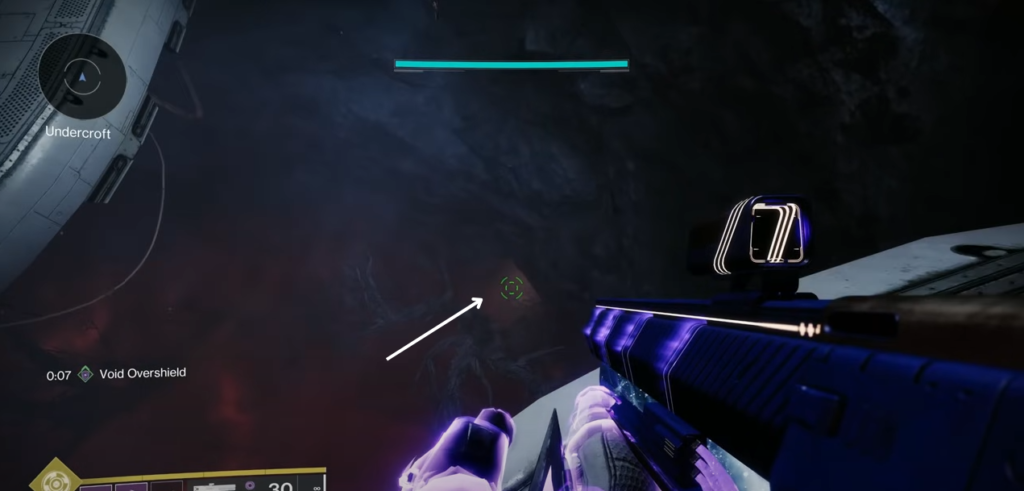
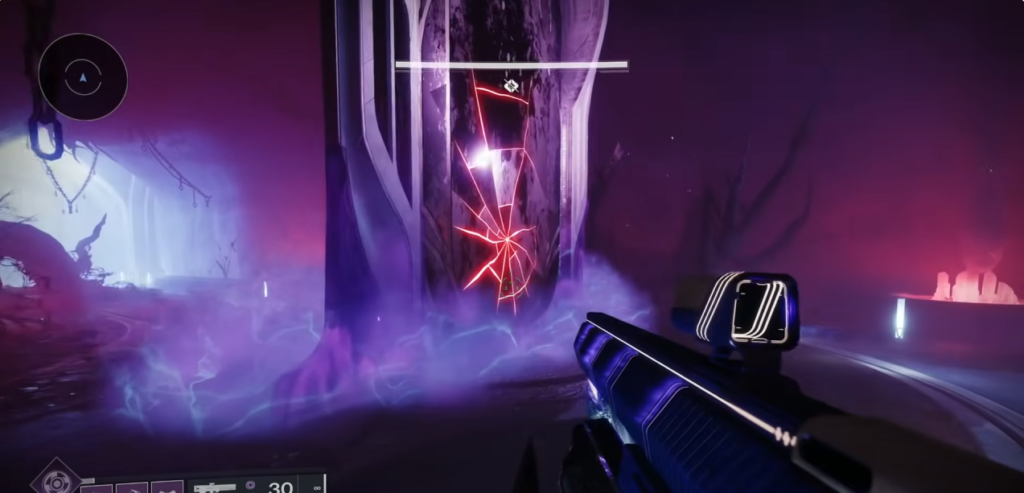
At the end of this path, you will see a mirror with partly broken glass. Shoot the glass and enter the mirror into the Revenant Plane. To proceed to the next part of the quest, you must light the correct braziers and get out of the Revenant Plane. The locations of the braziers differ on each attempt, but they are fairly close to each other.
For the first attempt, turn right as soon as you enter the plane, go straight, left, and another right near the curved tree trunk. Behind it will be a corridor, at the end of which you will spot the brazier. Turn left and enter the other room and light the second brazier. Now enter the mirror door that unlocks nearby to go back into the real world.
Take the stairs to your left and you will find another brazier which upon activation, opens a door behind you. Enter the door and break another set of glowing rocks in the east side of the room. Navigate through the narrow cave and you will eventually reach a statue – this is your cue that you are going in the right direction.
Kaniks The Mad Bomber
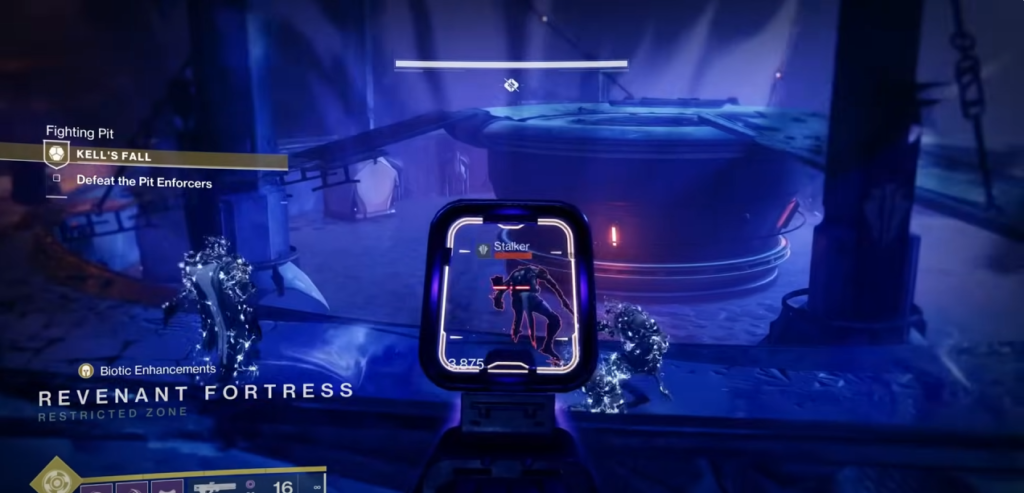
Behind the statue from the previous section, you will find a marker stating “Place Rally Banner”. Past this area, you will find the second boss fight of this quest. Once you enter the room, Ads start spawning and you have two options; either clear the enemies or dodge them. You have to ultimately wait for the mirror door to be activated, wherein lies the catch.
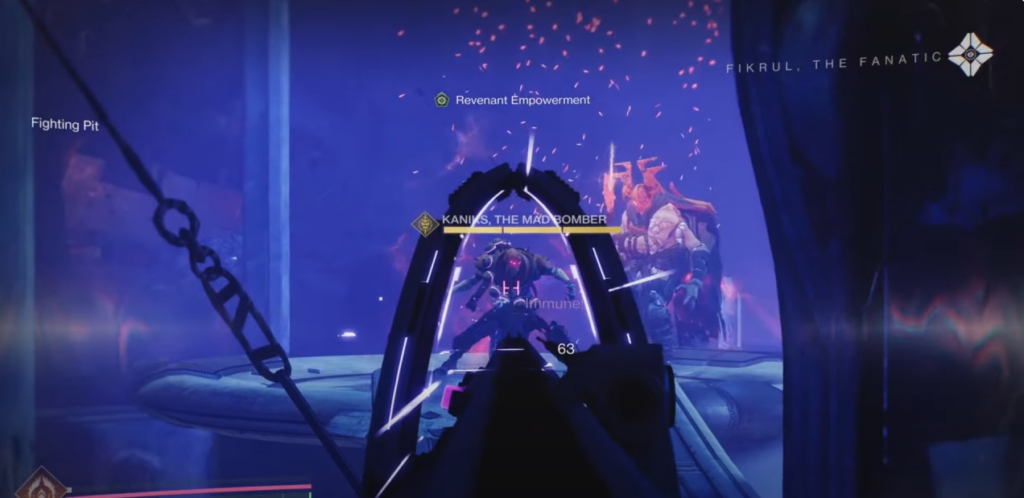
In the first phase of this boss fight, he does not spawn. Instead, he sends two Pit Enforcers which cannot be damaged initially. Instead, you need to go into the Revenant Plane and collect 10 Revenant Essence which grants you the Revenant Empowerment buff. So step into the mirror world and kill the Revenant Essentia who drop 2-3 Essence each. After you have collected enough Essence, return back and eliminate both the Pit Enforcers which forces The Mad Bomber to appear. You only need to remember to dodge his projectiles, as he is an easy boss to beat. Once you get him down to one-fourth health, Fikrul will appear and reanimate The Mad Bomber, so you can proceed with the quest.
Navigating the Undercoft
Go through the door to the east end of the Fighting Pit, and proceed until you find a cave lit with a dark red color. Here, you can either use the ledges to your left, or use the alternate path to the right; both paths lead to the same destination. We recommend using the alternate path, as it contains additional symbols for the organ you discovered earlier.
Glide down to the platform and over to the spinning mechanism. From there, quickly glide over to another platform on the northeast side with a sole Raider on it. Eliminate it and look down to spot a crevice with light coming out of it. Don’t worry about fall damage, because that is where you need to go. Jump down and proceed to the next section.
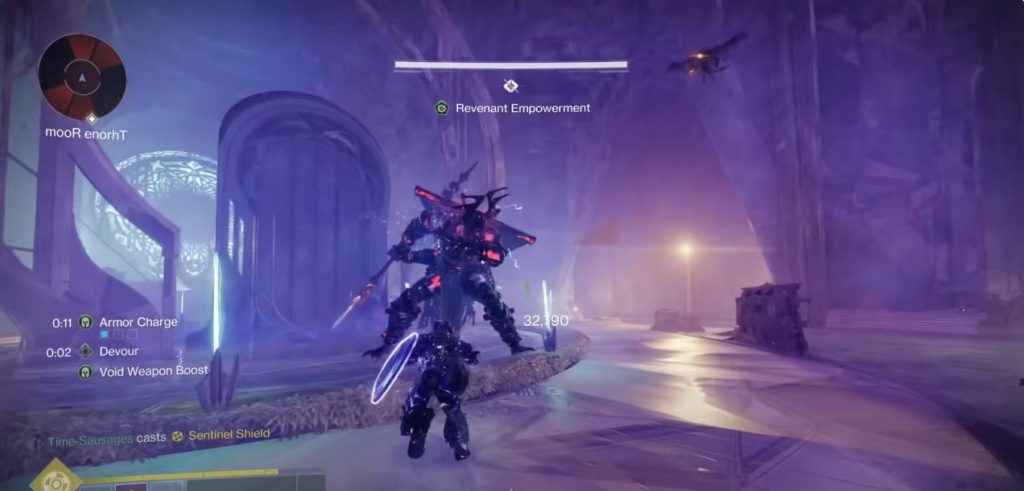
Hiraks The Mindbender
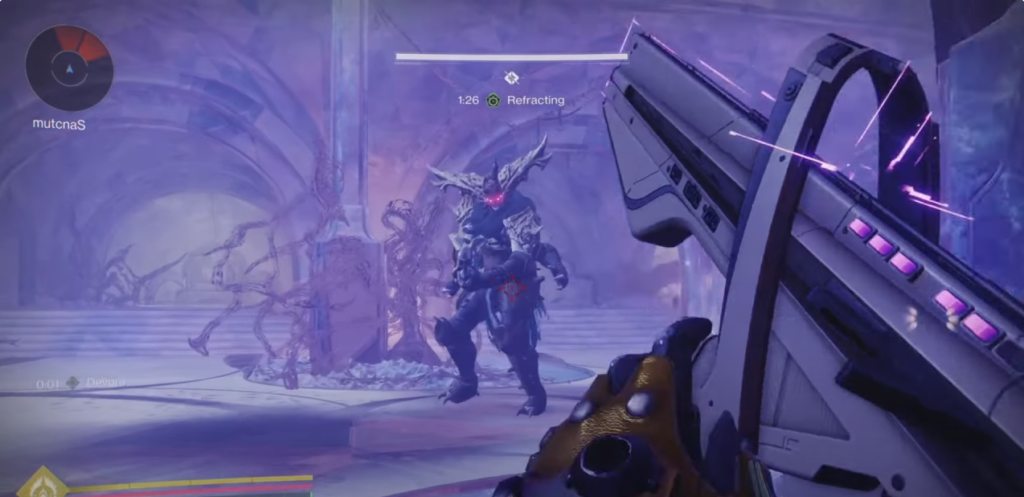
This boss fight isn’t the hardest one, but it can get tricky. You only need to remember one thing during this section – activate any braziers you see throughout the fight. After you’ve reached to end of the cave you entered in the last section, you will come across another marker saying “Place Rally Banner”. But this time, you will notice there is a brazier beside it, but you cant activate it just now. Place the banner, go left and through the mirror door, where you will see a “Refracting” timer in the Revenant Plane and need to fight Hiraks. Focus on damaging Hiraks as he only needs to be dealt one-fourth of his health after which he flees, and also because the expiration of the Refracting timer means certain death.
Now comes the tricky part. You need to activate the braziers in both realms to open a door and eliminate Hiraks. This section can be confusing, but if you follow these instructions precisely, it should be easy enough. Since the locations of the braziers can change each time, these are all the locations so make sure to check them all:
- Before you enter the mirror world, there are two corners opposite of each other with a possible brazier location.
- Walk back to the stairs from the Hiraks boss fight and take a right to find a crevice in the upper left corner.
- Turn around and proceed into the next room and on to the third platform.
- Climb down to spot another corner.
- Go through the portal and immediately outside of that is a possible brazier location.
- Beneath the other portal.
- Down below near the Revenant Acolyte.
- On a platform behind some glowing rocks.
After you have activated the required number of braziers, you will get a message saying “A door opens elsewhere”. The door is on the topmost platform of the cavern, go through it and kill all the Ads and Hiraks reappears. You only need to damage him, as he disappears again. Once he does, go through the cave in the southwest section and into another mirror door. Fight Hiraks for the last time here, after which you can proceed with the quest via a mirror door on the other side of the corridor.
Arakses The Trickter – Part 2
After entering the real plane, go right into a cave and proceed to the grav lift. Use it and you will see Arakses in the room around the giant staircase. She keeps appearing and disappearing, but fortunately she does this through a route which you need to take anyway. At the top of the staircase, there is nowhere to run so you can easily finish her off.
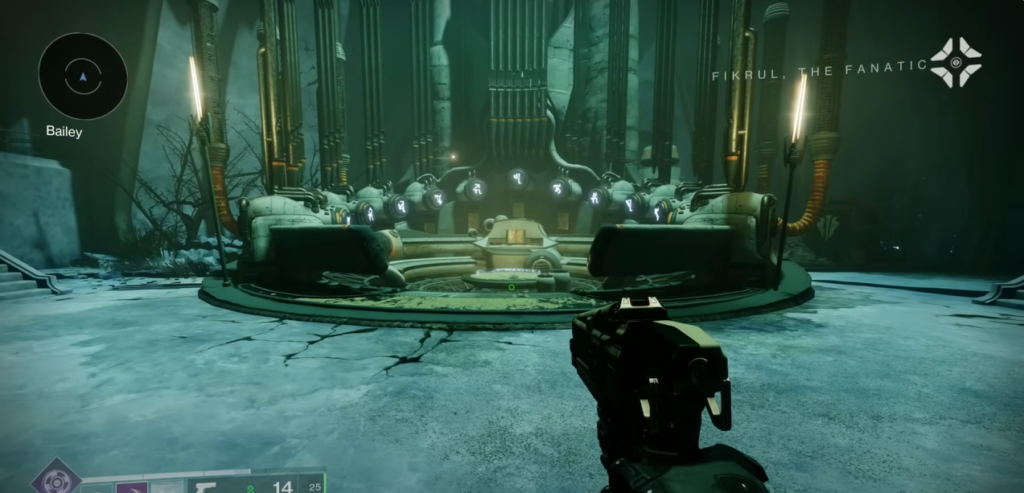
Fikrul The Fanatic
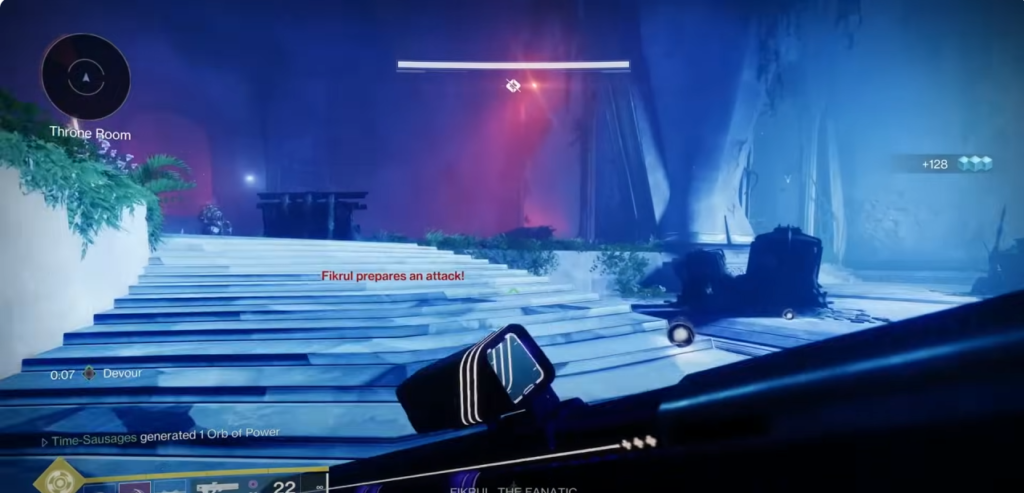
Go through the circular door and place the rally banner for the final time. Fikrul appears at the far end of the room with several ads around him. You can’t directly damage Fikrul, instead there is a rinse and repeat gimmick to this boss fight. Kill the ads until you see a message pop up “Fikrul prepares an attack!” then immediately jump in the Revenant Plane. Here, you again need to eliminate Revenant Essentia and collect ten Revenant Essence.
After you’ve collected them, Fikrul will follow you into the Revenant plane. Break the mirror he enters through and it stuns him for a significant duration, so damage him as much as you can. This is the entire process of this boss fight. Step out, wait for Fikrul to prepare, step in, and stun him. You need to do this at least three times if you are doing the quest solo. You then need to inject Eido’s tonic into Fikrul, eliminating him and completing the quest.
You can complete this quest up to three times, and Fikrul will not reanimate the bosses on your third attempt. Completing Kells of Kells will reward you with the powerful Exotic shotgun The Slayer’s Fang. You can also pick up upgrades for your gun during the re-run of this quest.