

Wuthering Waves has a massive world design with many intriguing areas to explore. It is filled with fun puzzles, tough enemies, and great rewards. Some unique quests like the Oakheart Highcourt only reveal themselves when the player takes the time to fully explore a region, as they are not marked on the map and do not show up in your log until you start them. But don’t worry, this guide will take you through the easiest method to start and complete this quest(which also includes a pretty tough boss fight).
How To Unlock Oakheart Highcourt Quest
You unlock the Oakheart Highcourt quest by making your way to a secret chamber in the Fagaceae Peninsula, and speaking to an Echo, named ‘the Lifer’. Make sure you have completed Chapter 2 Act 3: Veils Off in Sun or Shadow. After that, head over to the Fagaceae Peninsula in the northeast region of the map. Here you will find a circular labyrinth, known as the Oakheart Highcourt. Now you have two options to access the secret chamber that is deep within the labyrinth – either enter and make your way through the maze, or climb to the top and drop down via the secret entrance.
Navigating The Maze
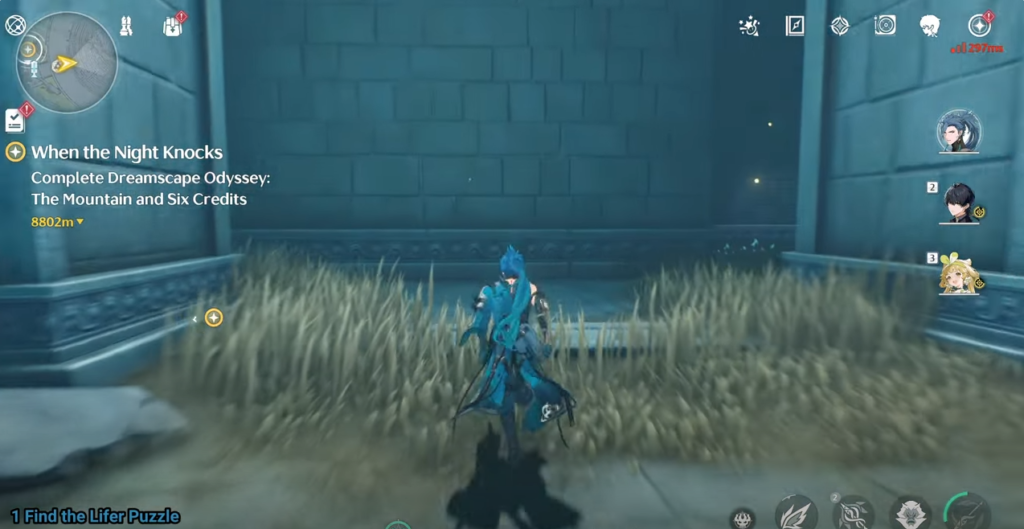
Enter the maze, and keep going in either a clockwise or anticlockwise direction. Stick to the path and you will eventually reach the center of the labyrinth.
The Secret Entrance
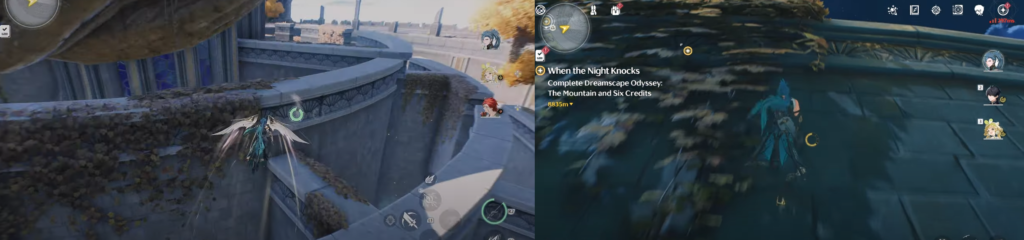
There are two ways to access this entrance. You can fly over from a vantage point nearby to the center, or use wall runs. To use the wall run method, start by going to the entrance of the maze normally, but instead of turning in a specific direction, wall run up the first wall. Climb to the top, double jump and glide to the next wall. Repeat this process until you reach a wall with thick tree roots on it. Drop down from here and you will reach the location.
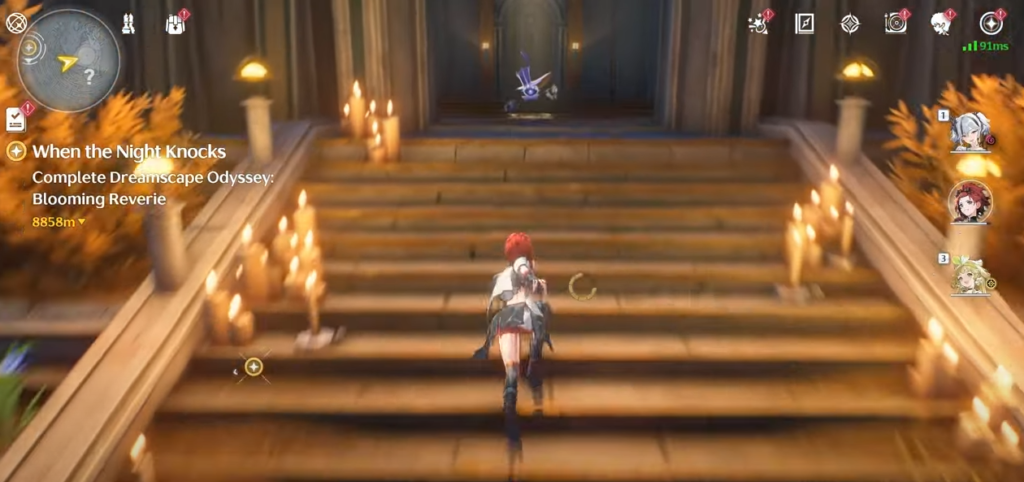
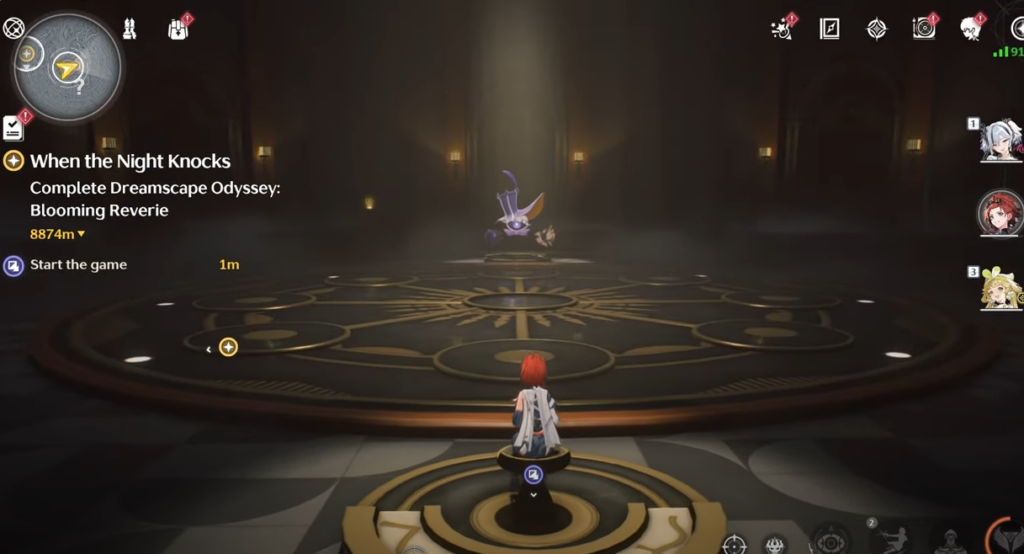
After you reach the center by any method, you will see a tile sticking out and a door with a lot of candles around it. Enter the room and talk with the Echo named The Lifer, which will begin the quest.
How To Defeat The Lifer In Wuthering Waves
You must win the minigame and defeat The Lifer in combat to complete this quest. After you talk to The Lifer, you can play a mini-game or fight him immediately to progress ahead. If you are confident in your abilities, you can try to fight him head-on, although it is not recommended as he has several buffs and an attack power of 300%. However, there is a way to remove all these buffs which makes the combat much more balanced.
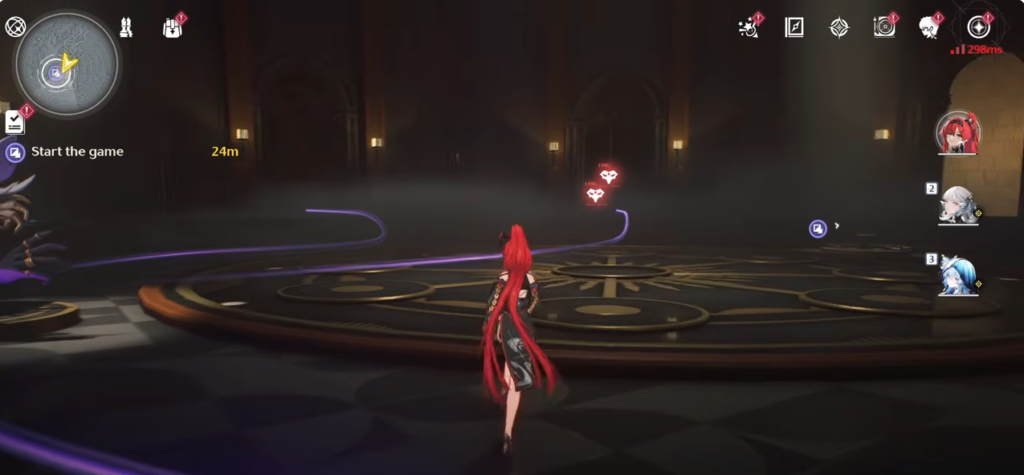
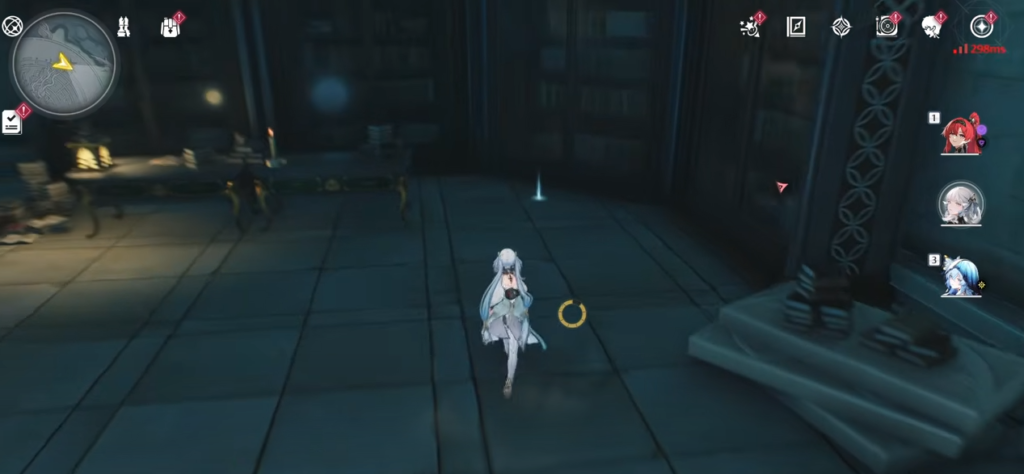
Turn left and interact with a mechanism, which provides more information about The Lifer’s buffs and some clues on how to defeat it. After that, use your sensor and you will see purple tracks leading to four doors.
The Mini-Game and Buff Removal
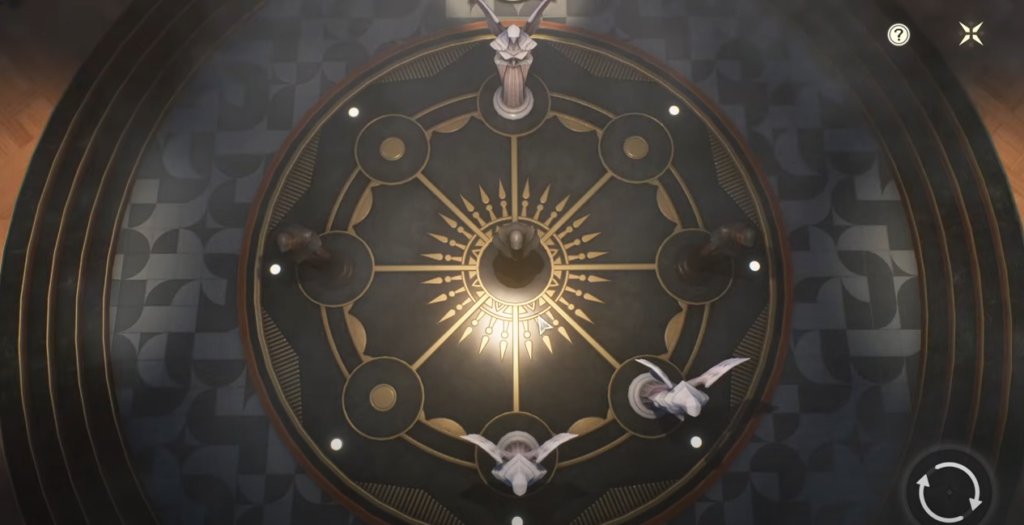
Sit opposite to the The Lifer and you’ll get a brief text tutorial about the mini-game. The game requires your black pawns to be set in a straight line while simultaneously preventing The Lifer from doing the same. Note that there are no repercussions for losing the game, and it can reset anytime. However, even if you somehow do manage to defeat The Lifer, it will get aggressive and attack you, which is again — an extremely tough fight, that you don’t want. Instead, we will focus on removing its buffs first so that when the inevitable altercation does go down, you have the upper hand.
Buff #1
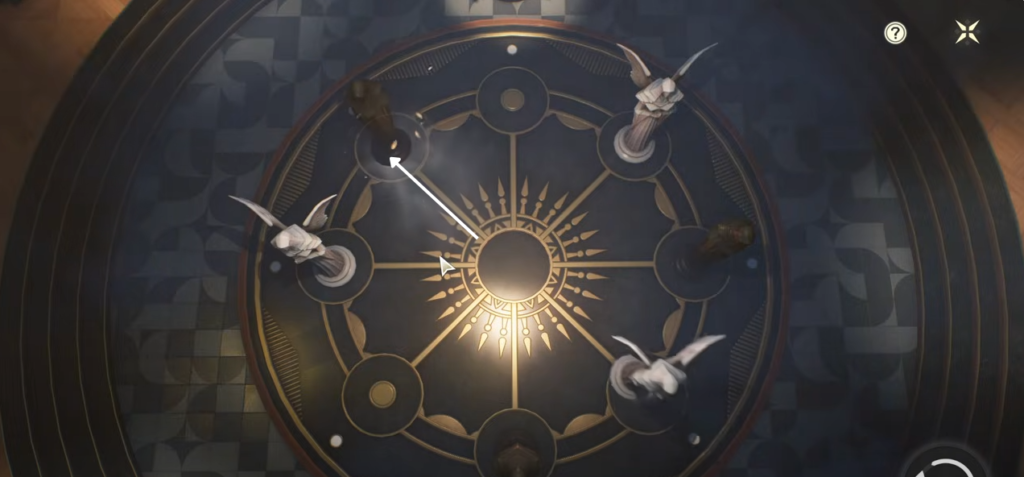
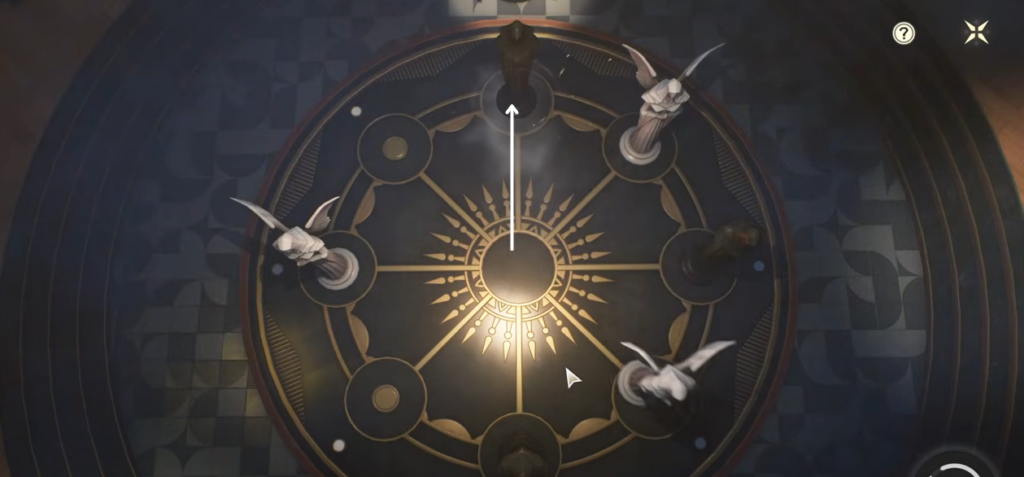
The main objective here is not to win the mini-game, but to place your pawns on the correct edge tiles to open the four doors. Move your center black piece to the top left corner, and you will see two doors open. Enter the door to the Lifer’s left and go through the corridor straight ahead to another room full of enemies.
After defeating them, go to a bookshelf to the right of the entrance, and you will see a glowing item near it. Interact with this item and it will reveal to be the Stake of Imbalance. Deliver the item to the mechanism near the statue and choose “Remove the Lifer’s buff” option. If done correctly, this will remove its “Impending Stalemate” buff.
Buff #2
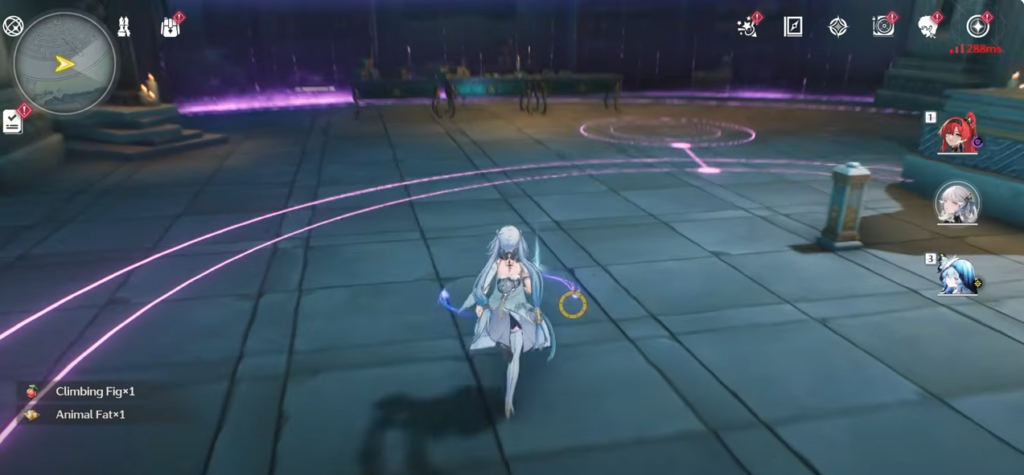
Go back to the puzzle room, and go through the second door that opened earlier. If you can’t find it, use your sensors and you should spot it easily. The tracks to removed buffs glow golden and unremoved buffs glow purple. You are again greeted with enemies at the end of the path, but this time the Stake of Imbalance is lying in plain sight just as you enter. After you have cleared the room, deliver the Stake of Imbalance to the mechanism and it will remove the Lifer’s “Desire for Escape” buff.
Buff #3
Now start the minigame again, and reset it. This time move your black pawn from the center to the upper tile, and it opens a door behind the Lifer.
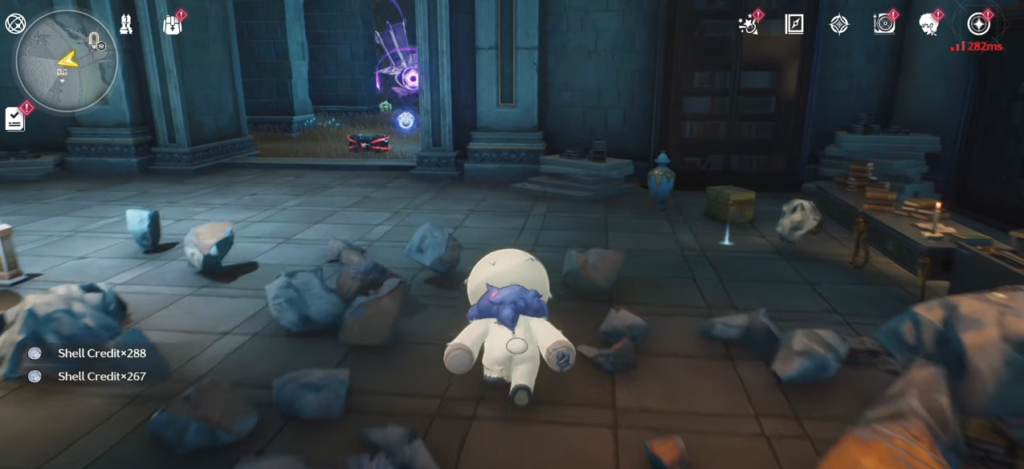
Go through this door and enter the room filled with giant cubes. You need to destroy all the cubes with Puddle Punch, after which you’ll find a Stake of Imbalance in the debris. Use it to remove the Lifer’s “Growing Loneliness” buff.
Buff #4
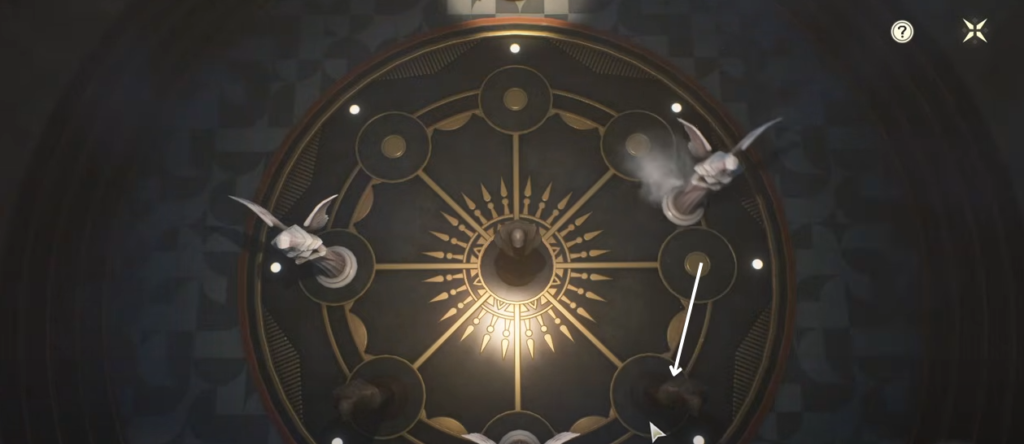
Finally, start the minigame one last time and move the black pawn from the right tile to the bottom-right tile, and it will open the door to the opposite of the Lifer, beside where you sit.
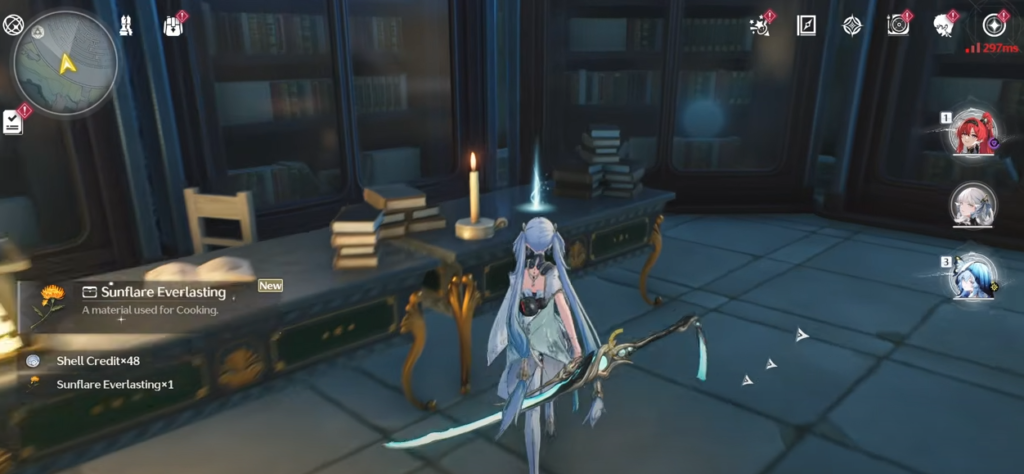
Enter the door, go straight ahead and defeat all the enemies. The Stake of Imbalance should be sitting on a table to right of the entrance of the room. Use it and the Lifer’s Decay of Time buff will be removed.
Fighting The Lifer
From here you have two options: Fight the already weakened Lifer, or win the mini-game to weaken him even further. There are several ways to win the mini-game, but this method is recommended:
- Step 1: Move the piece on the center tile to the upper-left tile
- Step 2: Move the bottom piece to the bottom-left tile
- Step 3: Move the bottom-left piece to the center tile
- Step 4: Move the center piece back to the bottom-left tile
- Step 5: Move the bottom-left piece back to the bottom tile
- Step 6: Move the bottom piece to the center tile
- Step 7: Repeat steps 4,5,6 twice
- Step 8: Move the upper-left piece to center-left tile
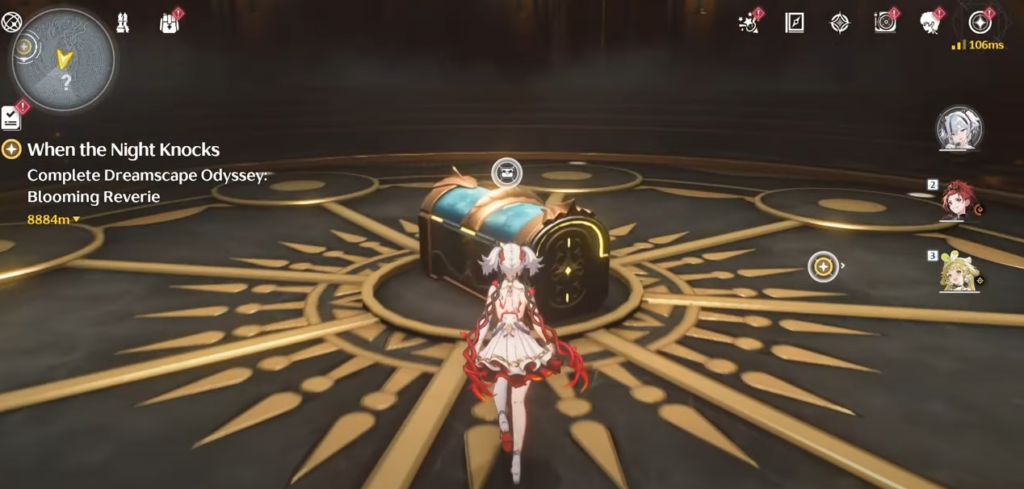
After being defeated, the Lifer is frustrated and becomes hostile. This is a fairly easy fight, because the Lifer has no buffs and is in an additionally weakened state. Defeat the Lifer in combat and complete the quest to gain 3 Standard Supply chests and an Advanced Supply chest.
In addition to this, you can challenge the Lifer three more times, and after each defeat, you receive four chests, one of which can be the Premium Supply chest. You also get The Lifer’s Salvation, Limit of Intelligence, and the Ring of The Lifer trophies in the end.
After completing a pretty involving and intricate boss fight, you may want to just spend time exploring and getting collectibles in the game; in which case our guide on all the 13 Whisperwind Haven Sonance Caskets is the perfect one for you to bookmark and refer to.
2 Comments
Pingback: Wuthering Waves: All 28 Overflowing Palette Puzzle Solutions
Pingback: Wuthering Waves 2.0: All Red Elite Echoes In Rinascita