

Sniper Elite Resistance has a bunch of Collectibles located across its maps in all of the chapters of the game. While many of these Collectibles don’t serve a real purpose in the game, they are still helpful for finding out extra information about the Chapter and for completing the game 100%.
This article will tell you where you can find all the Collectibles in the third chapter of Sniper Elite Resistance and some information about them.
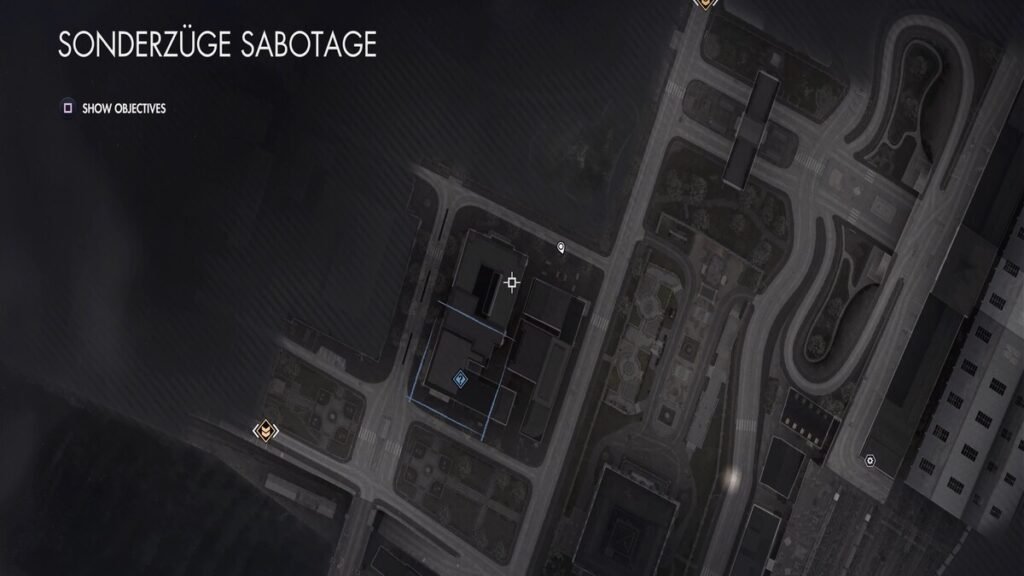
How To Get All Collectibles In Sniper Elite Resistance Chapter 3
There are a total of 19 Collectibles that you can find in Sonderzuge Sabotage, the third chapter of Sniper Elite Resistance. These Collectibles range from Personal Letters to Classified Documents to other different items and below is a list of all of them:
1. Be Safe My Dear – Personal Letter No. 1
The first Personal Letter will be inside the Delicatessen, on the western side of the map. Enter this restaurant and exit out of the back door to find a courtyard. There will be a gutter pipe on your right side as soon as you enter the courtyard and you need to climb up to the second floor to find the keys to a safe on a table. You should then come back down to the courtyard and go diagonally right to find an entrance to a room with the safe in it. This safe will be opened with the keys you have just obtained and you will then be able to pick up the Letter.
2 We Are Everywhere – Personal Letter No. 2
The second Personal Letter is in the Hotel near the center of the map. Enter the hotel and head to the second floor. Then, take a left to find a different set of stairs that take you to the third floor. Once you’re on the third floor, go to the room in the bottom-left corner or diagonally across from you. There will be an open window in this room, climb out of it, grab the ledge and go to the left to find an open window. Climb into the room to find the second Personal Letter.
3. Cross Of Lorraine – Personal Letter No. 3
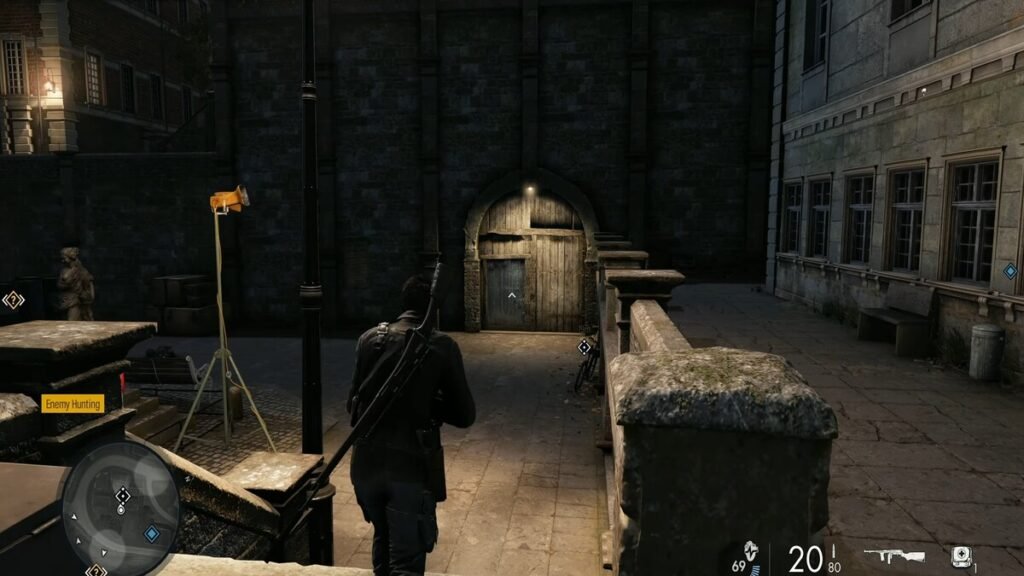
This Personal Letter is in the building with the optional objective of Investigating The Safehouse. Find this letter on the second floor of the building to retrieve this Collectible as well as complete the optional objective.
4. Missing Her Birthday – Personal Letter No. 4
This Personal Letter is easy to find as it is located on the first floor of the train station. It will be on your right after you enter the waiting room with many benches in it.
5. The Scars Of War – Personal Letter No. 5
The final Personal Letter is also very simple to find as it is located in the small sitting area next to the courtyard in front of the Hotel.
6. Gestapo Briefing – Classified Document No. 1
Head back to the hotel and to the third floor of the building with the open window. Go across from the room to the eastern side of the Hotel to find a room with a staircase. Rather than ascending this staircase, go out of the open window and climb a drain pipe to the top floor of the hotel. There will be a room that you can enter through its open window here and you will find the Gestapo Briefing Document placed on a table.
7. Hotel Refurbishment – Classified Document No. 2
This Classified Document is much easier to find in comparison and is located just behind the receptionist’s desk on the ground floor of the hotel.
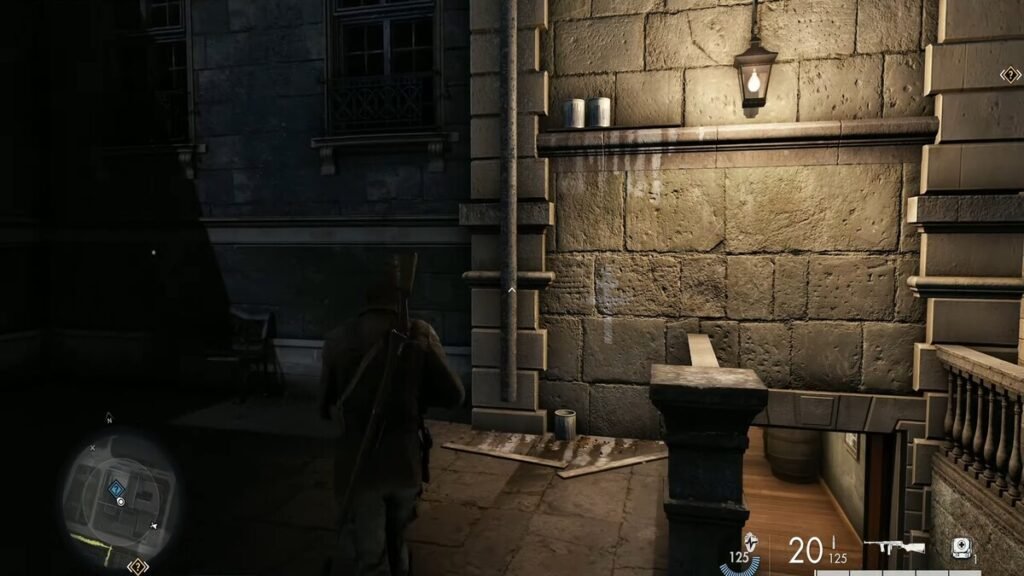
8. Hotel Storage – Classified Document No. 3
Head to the top left corner of the map and find the area shown in the image above. There will be a ladder and a staircase that you need to climb on the outside of this building to make your way to the top. There will be a long hallway here and you will find the Hotel Storage documents on the right-hand side.
9. Rail Network Control – Classified Document No. 4
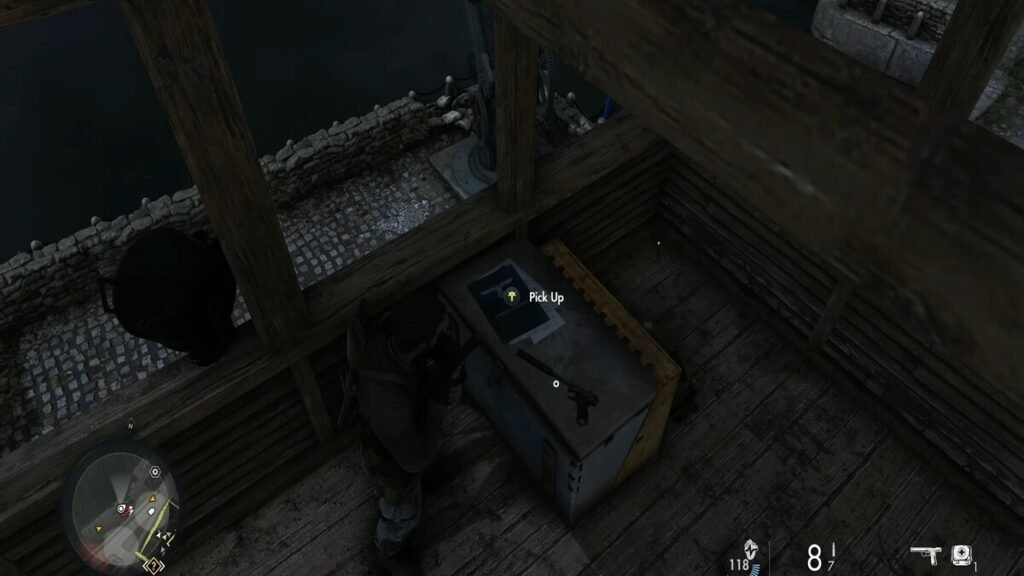
This Classified Document is found near the docks where the bridge meets the main Island in Chapter Four of Sniper Elite Resistance. There is a wooden watchtower here that you need to climb to find the last document on top of a crate.
10. Cargo Details – Classified Document No. 5
Head back to the train station where you found the fourth Personal Letter and this Document will be present in a room right next to the waiting room on the second floor of the station.
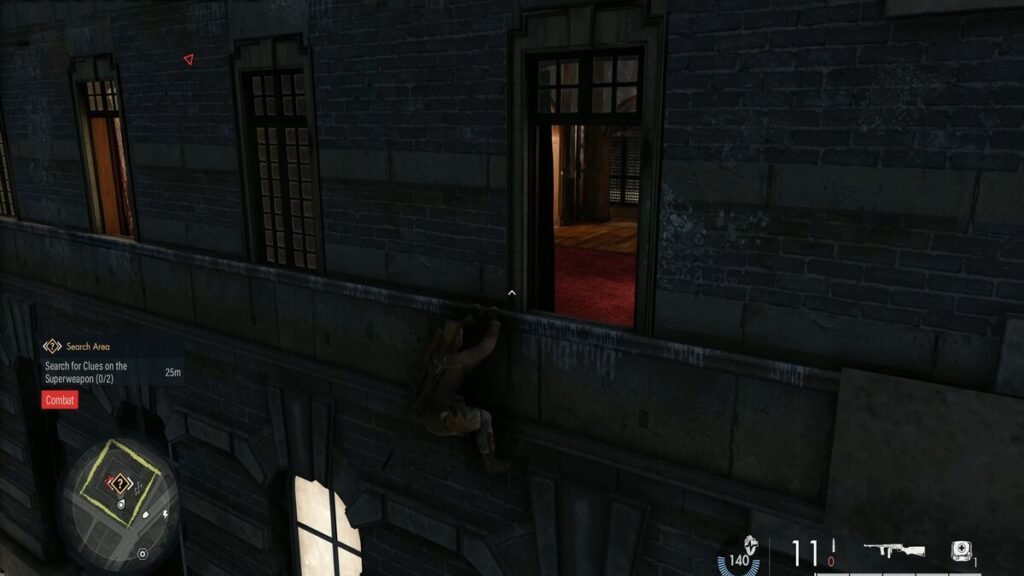
11. Resistance Flag – Hidden Item No.1

This Hidden Item is also located in the building where you have to search the safehouse for clues according to the optional objective. Enter this building through the stairs shown in the image above and take the first left to find the Resistance Flag.
12. Gestapo ID Badge – Hidden Item No.2
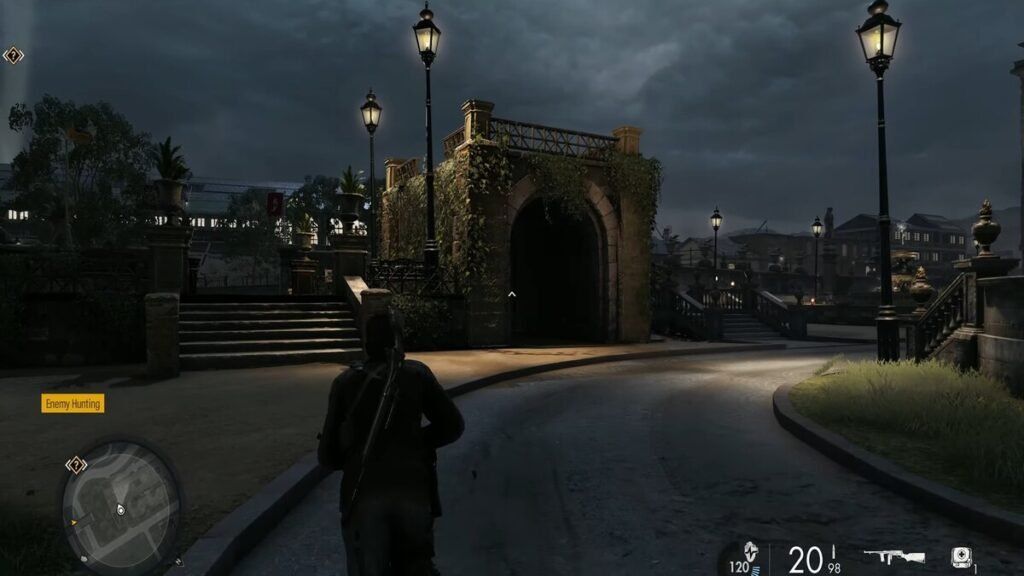
The Gestapo ID Badge is found on the bridge that is used to cross over into the main town area. This badge will be on the left side of the bridge if you are crossing into the town from the Island.
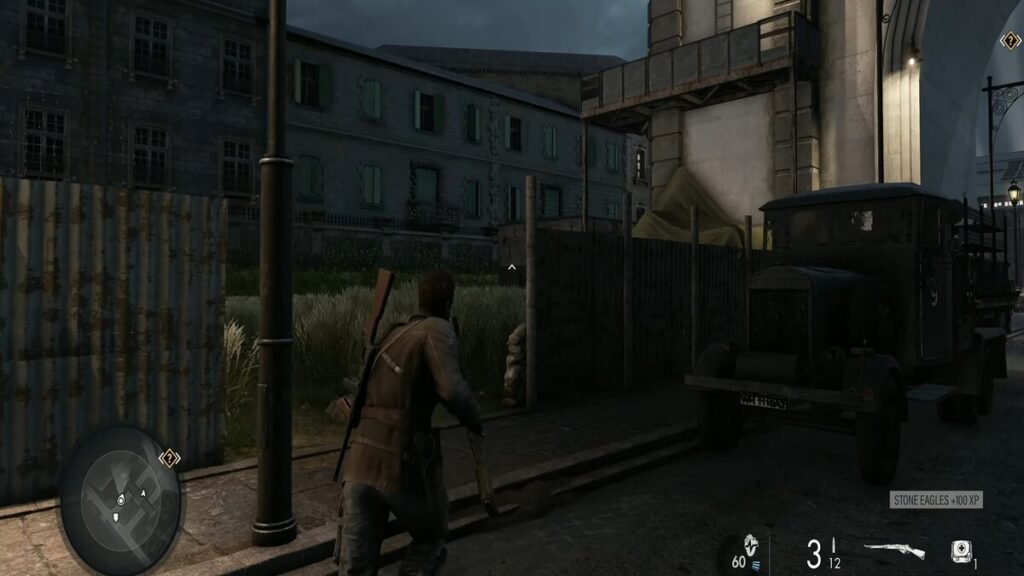
13. Le Sniper Propaganda Poster – Hidden Item No.3
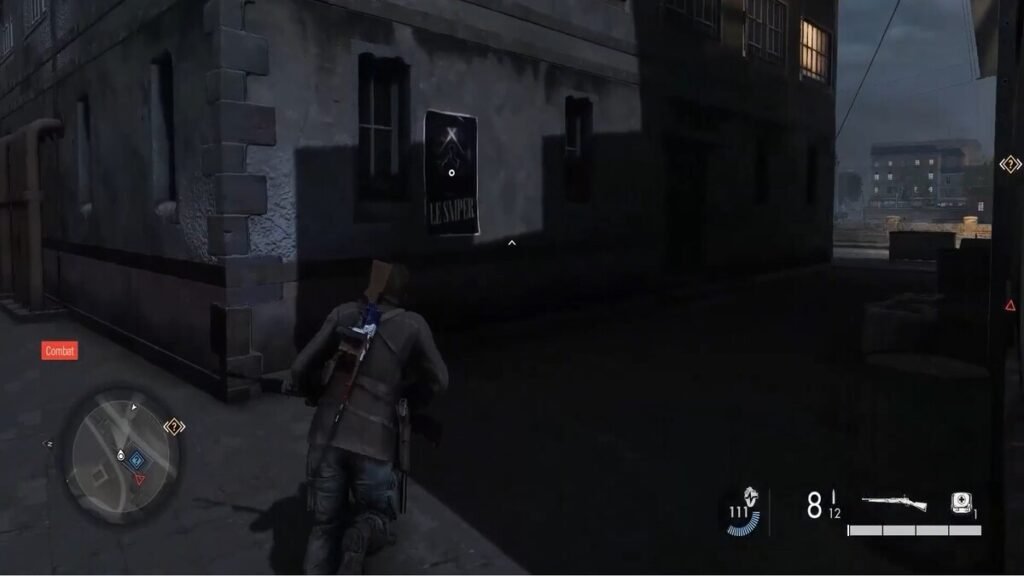
This Propaganda Poster is located just outside the house where you find the first Hidden Item. Head to the back of the house from the outside to find an alley with this Poster, collecting all 7 such Propaganda Posters will unlock a time trial challenge.
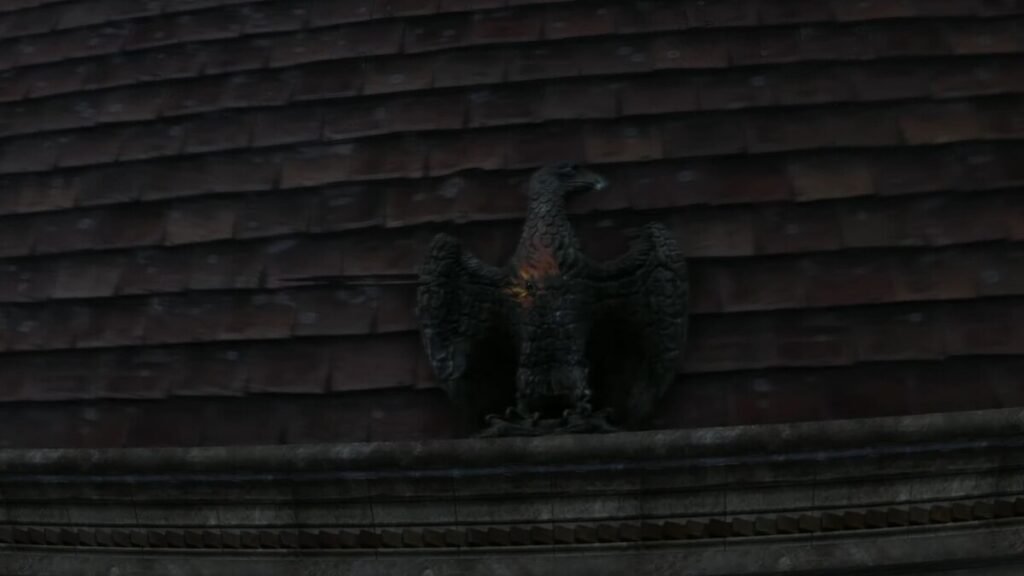
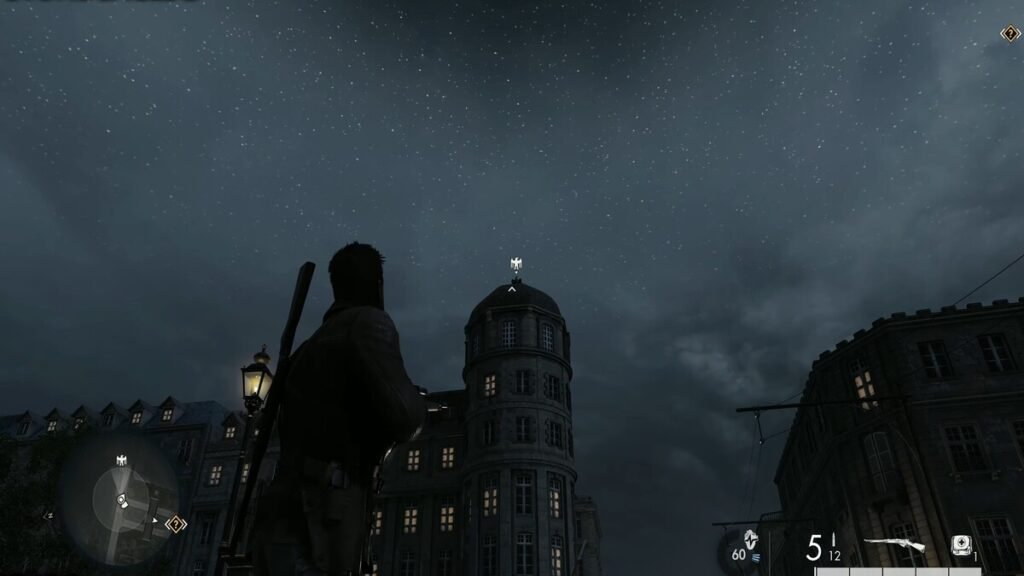
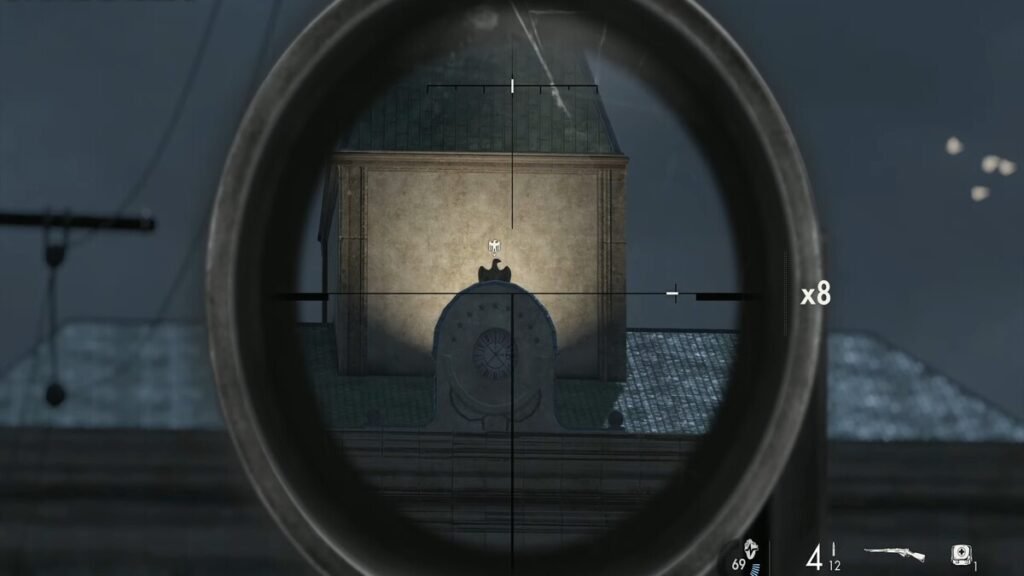
14. Stone Eagle No. 1
The first Stone Eagle is very easy to find as it is located near the spawn area. All you need to do is turn around after spawning and you will see a huge building with the Stone Eagle perched on top of it. You need to shoot this Eagle down to retrieve this Collectible item.
15. Stone Eagle No. 2
The second Stone Eagle is found in the extreme top left corner of the map. You can shoot this down from a long distance away as it is on top of a platform that can be seen from a lot of nearby areas.
16. Stone Eagle No. 3
The third Stone Eagle is also located pretty close to the second one and it is possible to shoot them both down from the same spot. Head to the top left corner of the map once again, and this Eagle will perched on top of the train station, ready for you to shoot it down.
17. Rifle Workbench
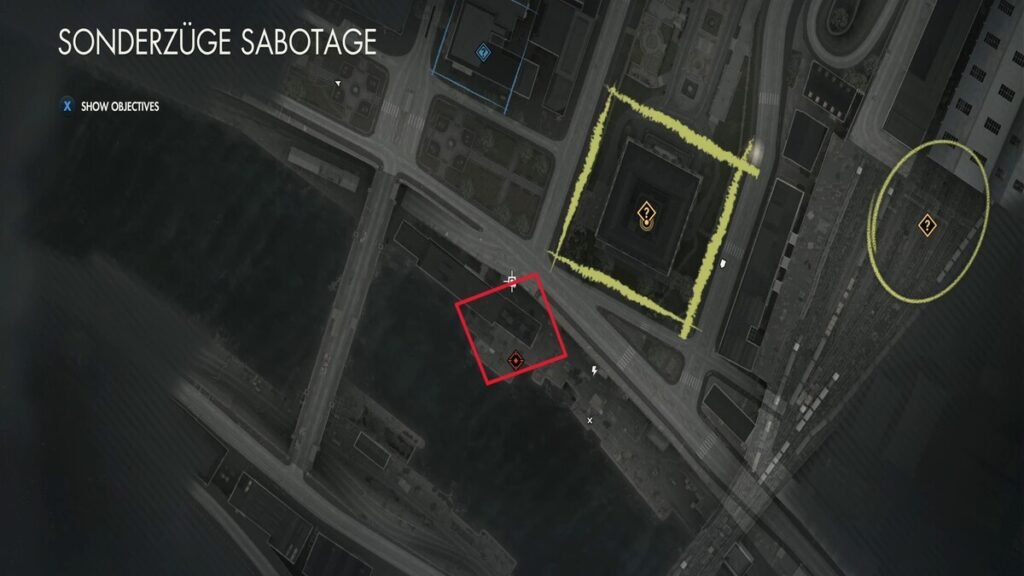
The Rifle Workbench is located in the barn-type building in the docks/canal area where the main bridge connects to the Island. You can head exactly to the area marked in the red square on the map above to find this building which will have a Rifle Workbench in it.
18. SMG Workbench
Head to the cluster of buildings in the extreme south of the map and find the blue doors shown in the image above. You will be able to pick the lock on these doors or use the boltcutter next to them to break through. This will lead you to the room with the SMG Workbench in it which you can then use.
19. Pistol Workbench
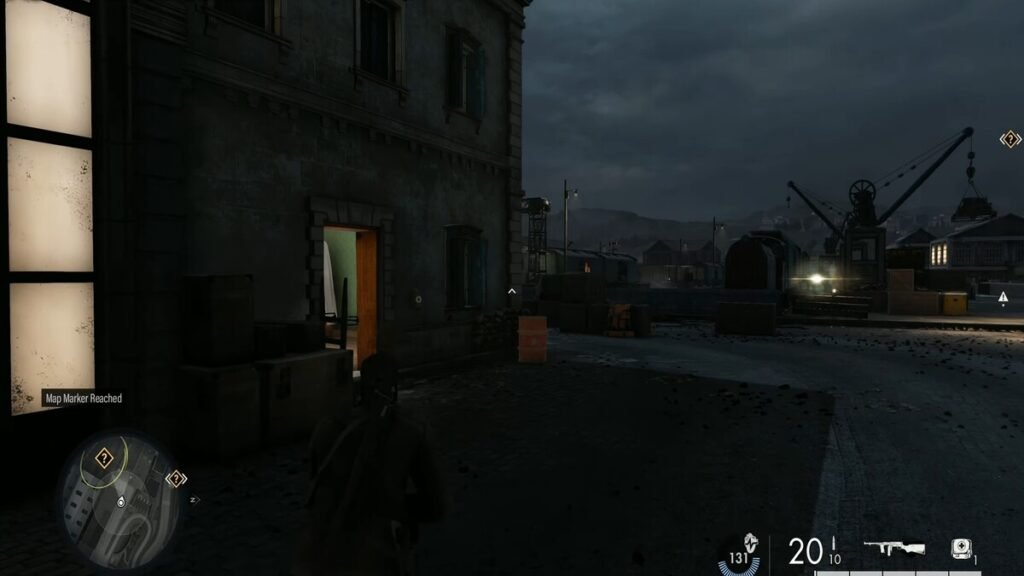
The final Collectible item in the game is found near the train station. Go around the station office and you will find the location shown in the image above. You will be able to enter through this open door and then have to pick a locked door inside the building to access the Pistol Workbench.
Alternate Starting Locations
Although they don’t technically count as Collectibles in-game, there are two alternative Starting Locations that you can find in Chapter Three of Sniper Elite Resistance.
Signal Box
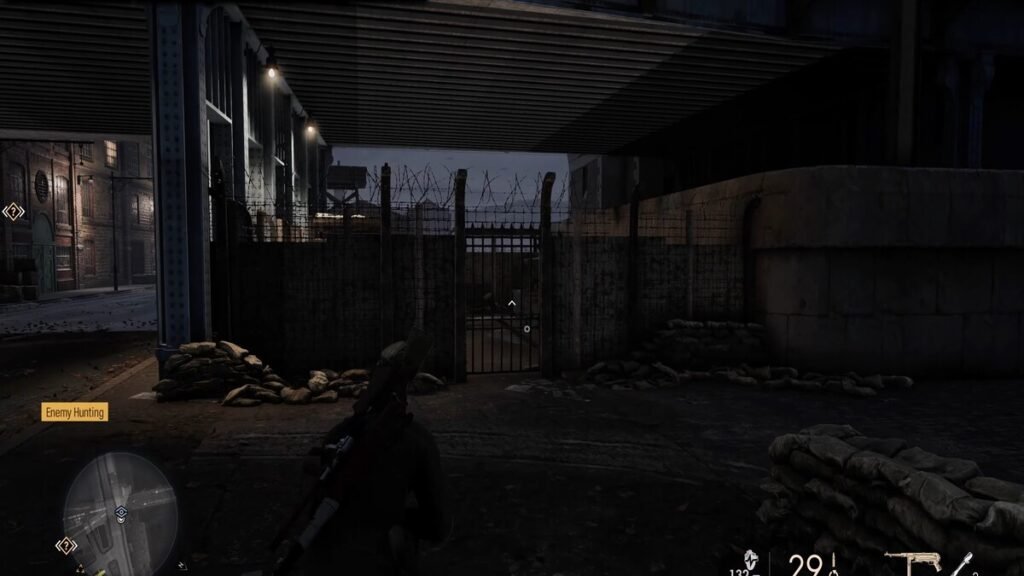
The first alternate starting location can be found on the eastern edge of the map, at the place titled Scaffold Yard. Find the locked cage area shown in the image above, under the bridge. Pick or break the lock to the door to unlock this alternate Starting Location.
Parkview Apartments
Go northwest from the Signal Box to the location shown by the player marker on the map above. Enter the Parkview Apartments building through its side entrance and head up to the second floor. Go to the end of the hallway once you’re on the second floor and simply open the last door to unlock this last Starting Location.